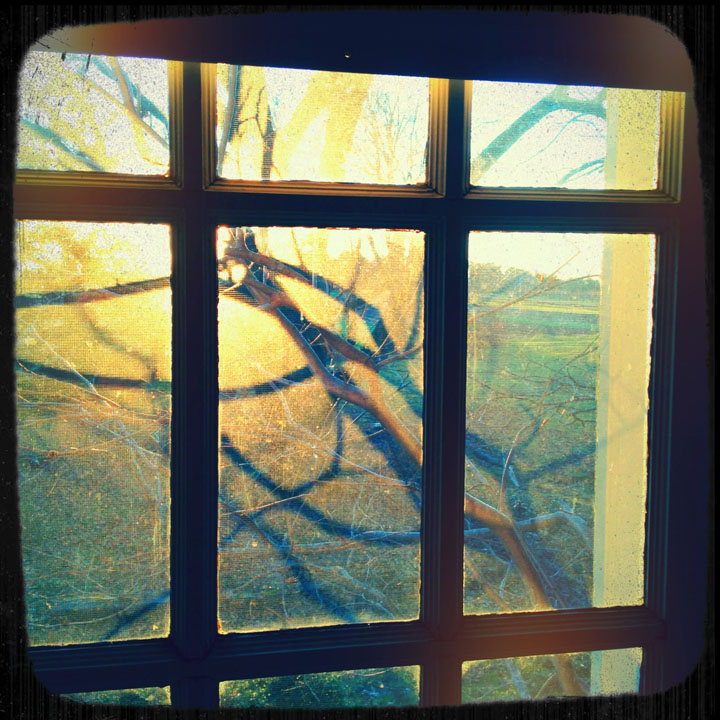
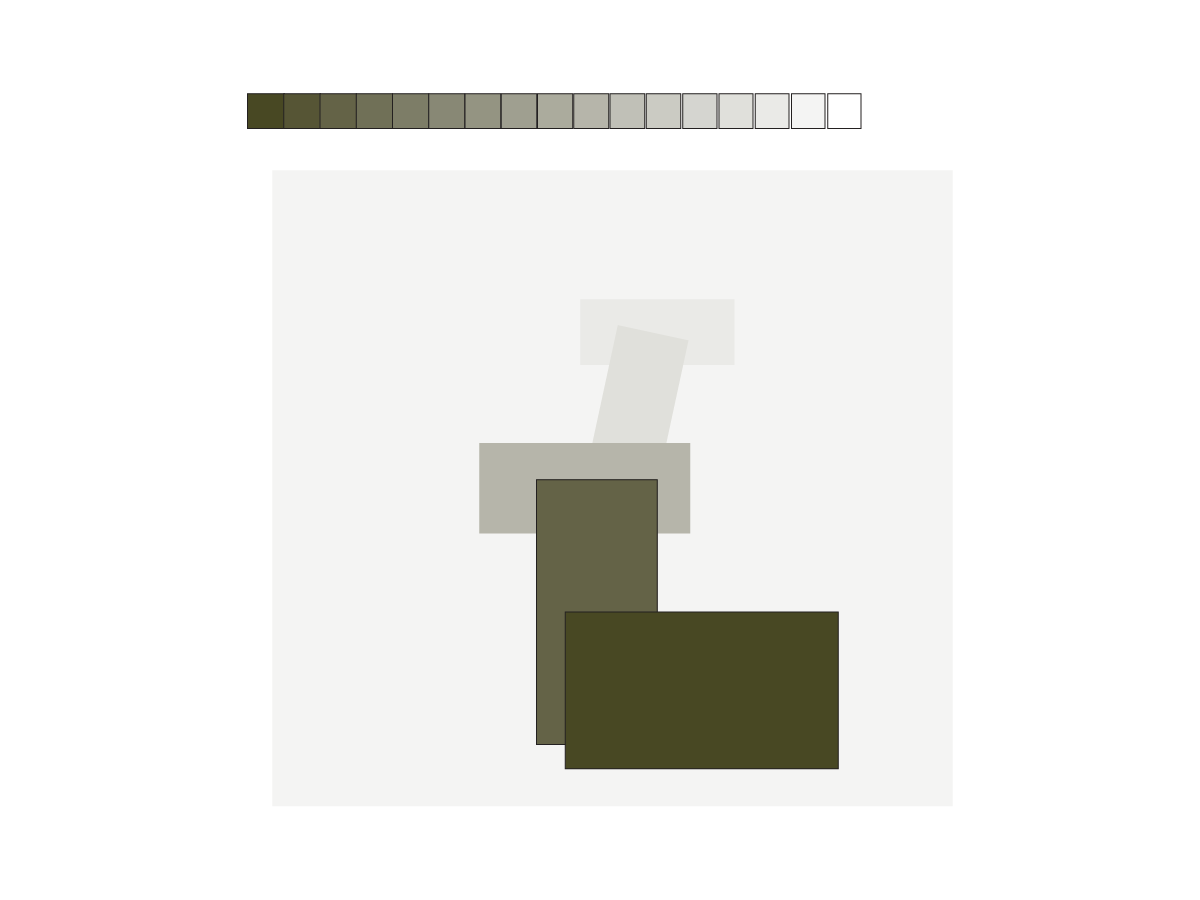
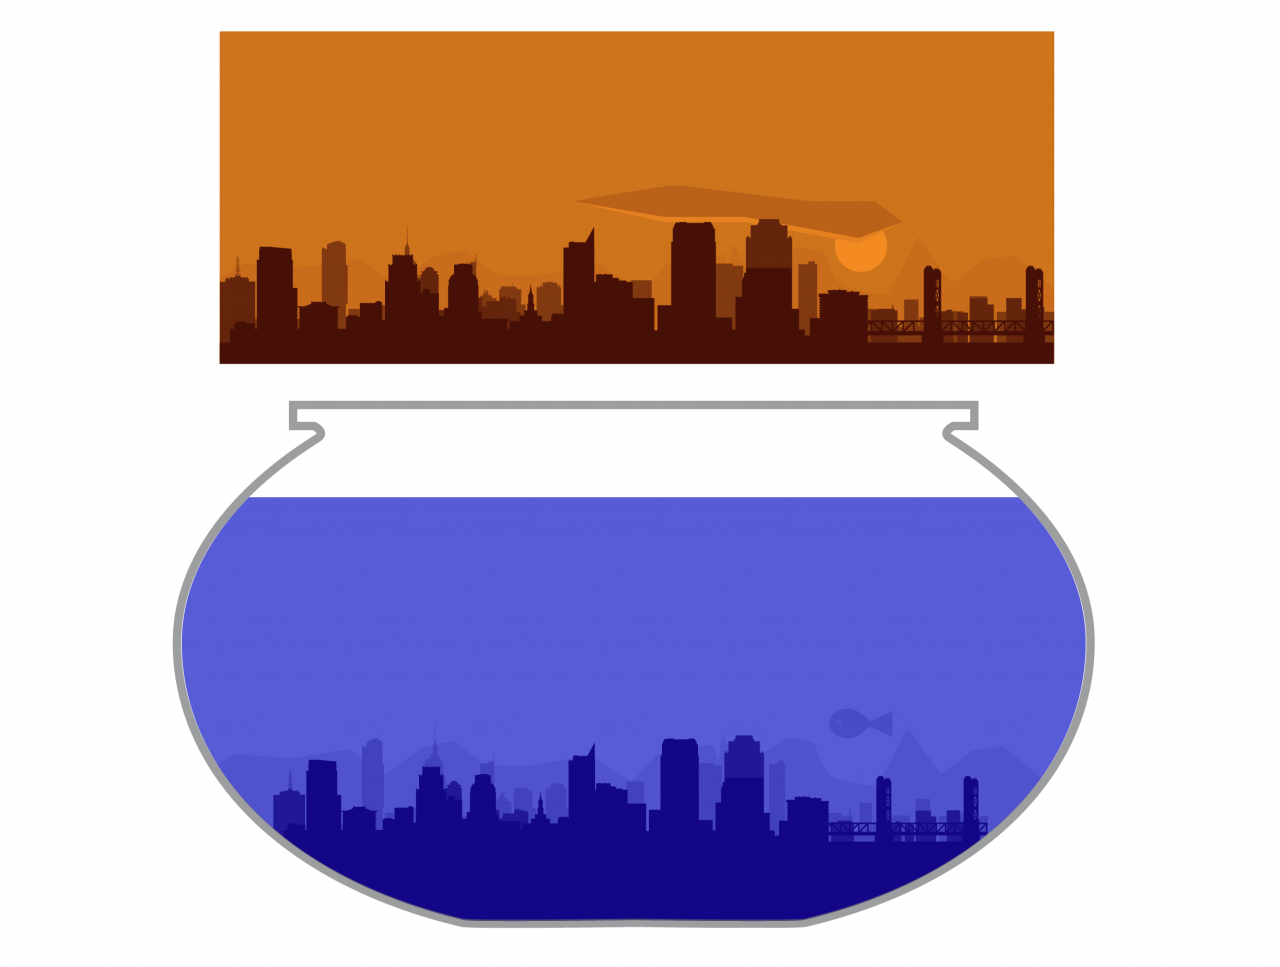
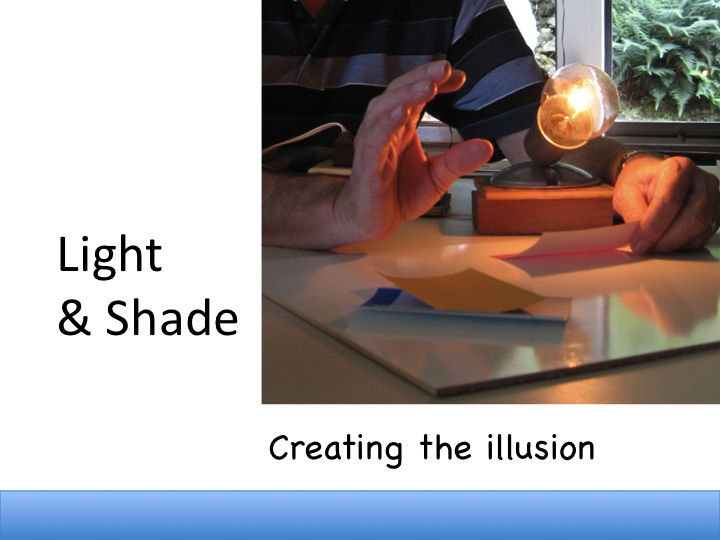
The seventh sessions of the Trihue Watercolor class for Winter 2018 were held on Wednesday, February 28 and Sunday, March 18. The colored light studies were critiqued. The new topic, surface, was introduced. Surface has to do with light being reflected or absorbed. Similar to the value scale of white to black, you can imagine a surface scale from very reflective to not at all reflective: mirror to black velvet. Still water at a distance will reflect the sky or other surroundings, acting like a mirror, while looking down into it at a steep angle, or where an object is between us and the light source, you can see through it like a window. The new painting assignment provides a chance to tackle this intriguing phenomenon.
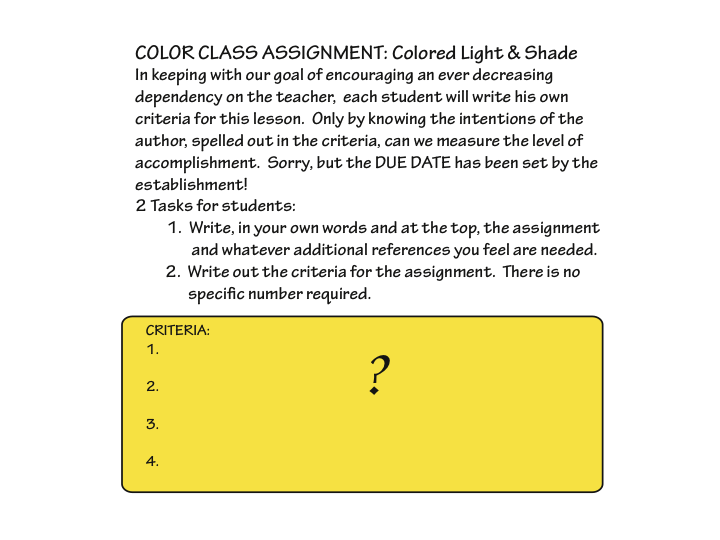
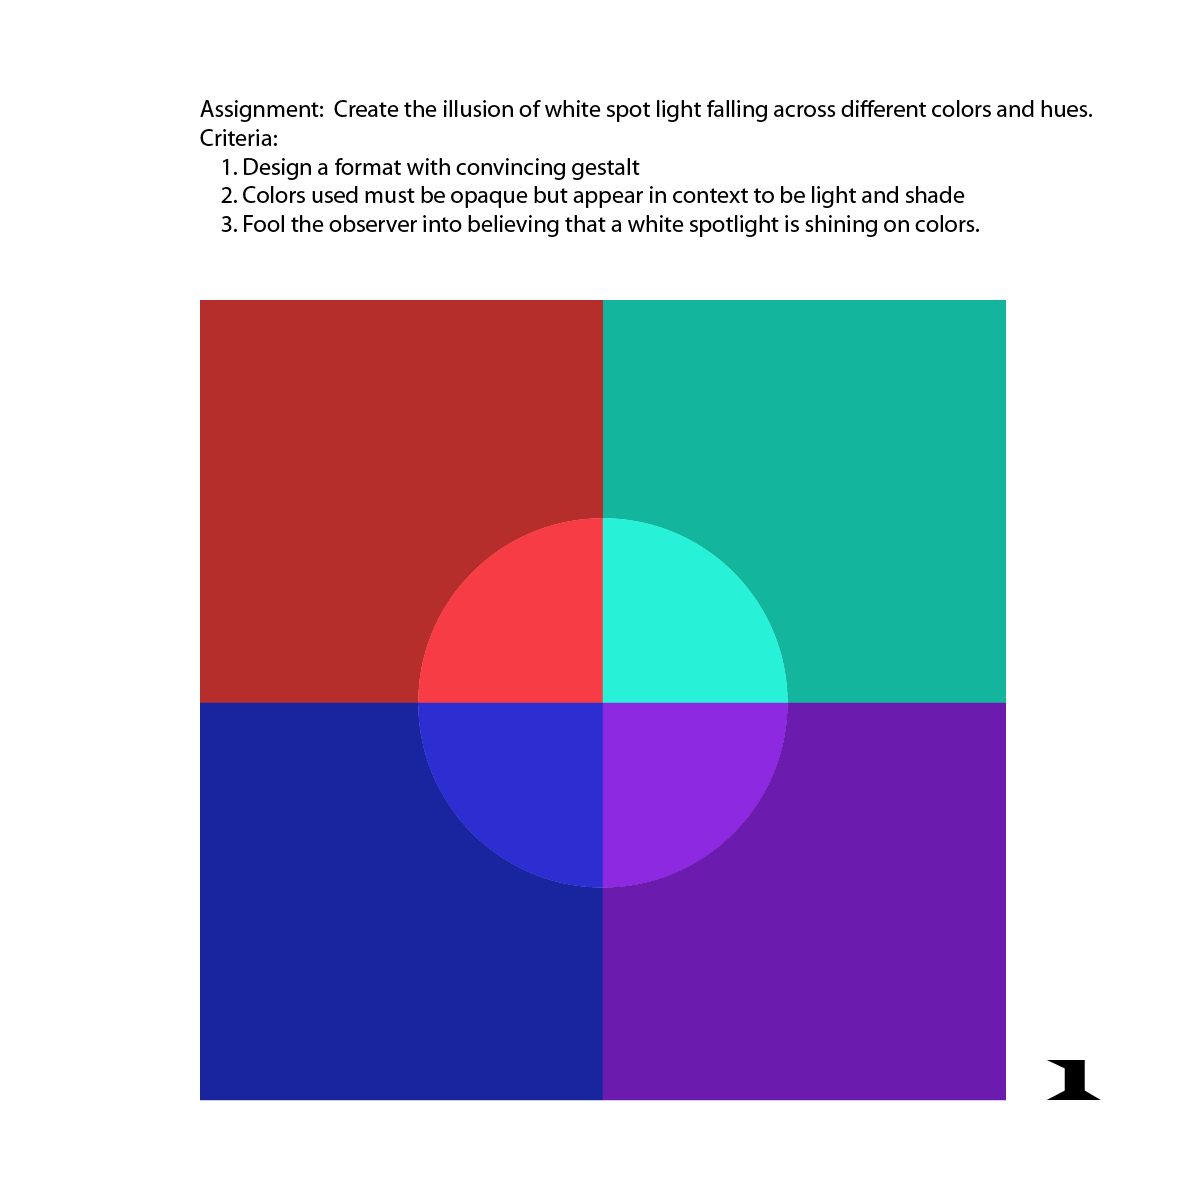
Week 7 homework assignment and handouts: Surface
[gview file=”https://dicknelsoncolor.com/wp-content/uploads/2018/02/SurfaceLesson.pdf”]
[gview file=”https://dicknelsoncolor.com/wp-content/uploads/2018/02/SurfaceDemo.pdf”]
[gview file=”https://dicknelsoncolor.com/wp-content/uploads/2018/03/SurfaceTempltC.pdf”]
[gview file=”https://dicknelsoncolor.com/wp-content/uploads/2018/03/SurfaceDemRev.pdf”]
[gview file=”https://dicknelsoncolor.com/wp-content/uploads/2018/03/SurfaceRevTemplate2.pdf”]
[gview file=”https://dicknelsoncolor.com/wp-content/uploads/2018/02/VolumeColor2.pdf”]
[gview file=”https://dicknelsoncolor.com/wp-content/uploads/2018/02/Gradation-Strat.pdf”]
For more explanations of surface, see this 2012 Tri-hue class post and the following week’s critique.
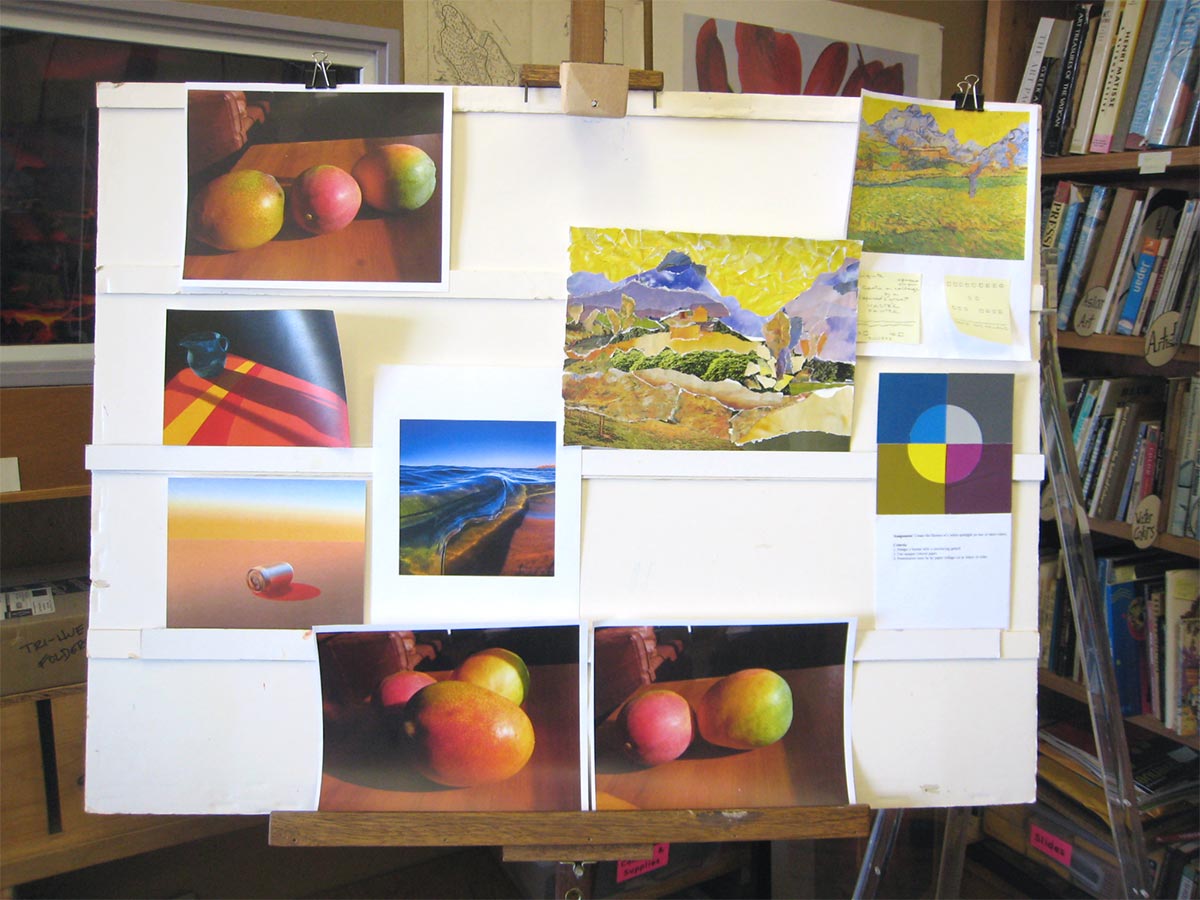
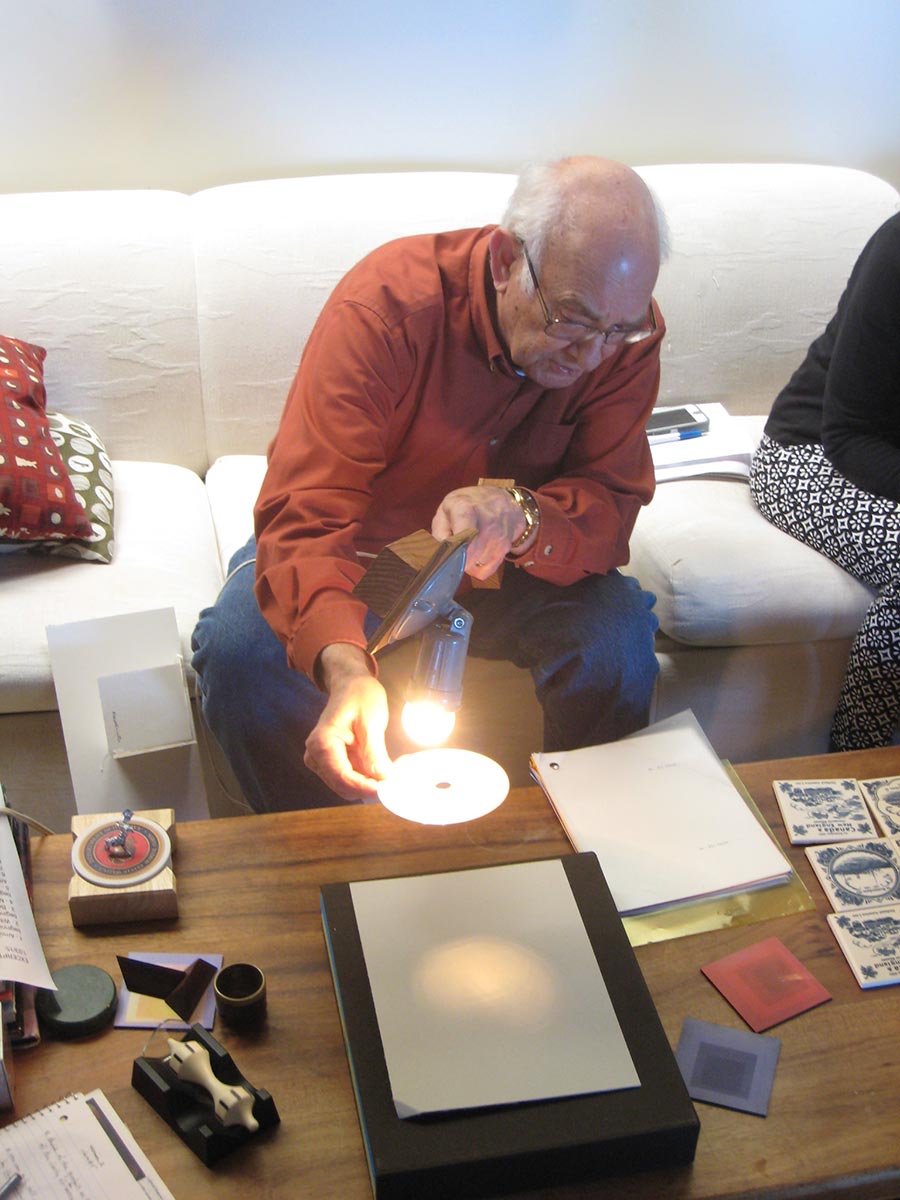
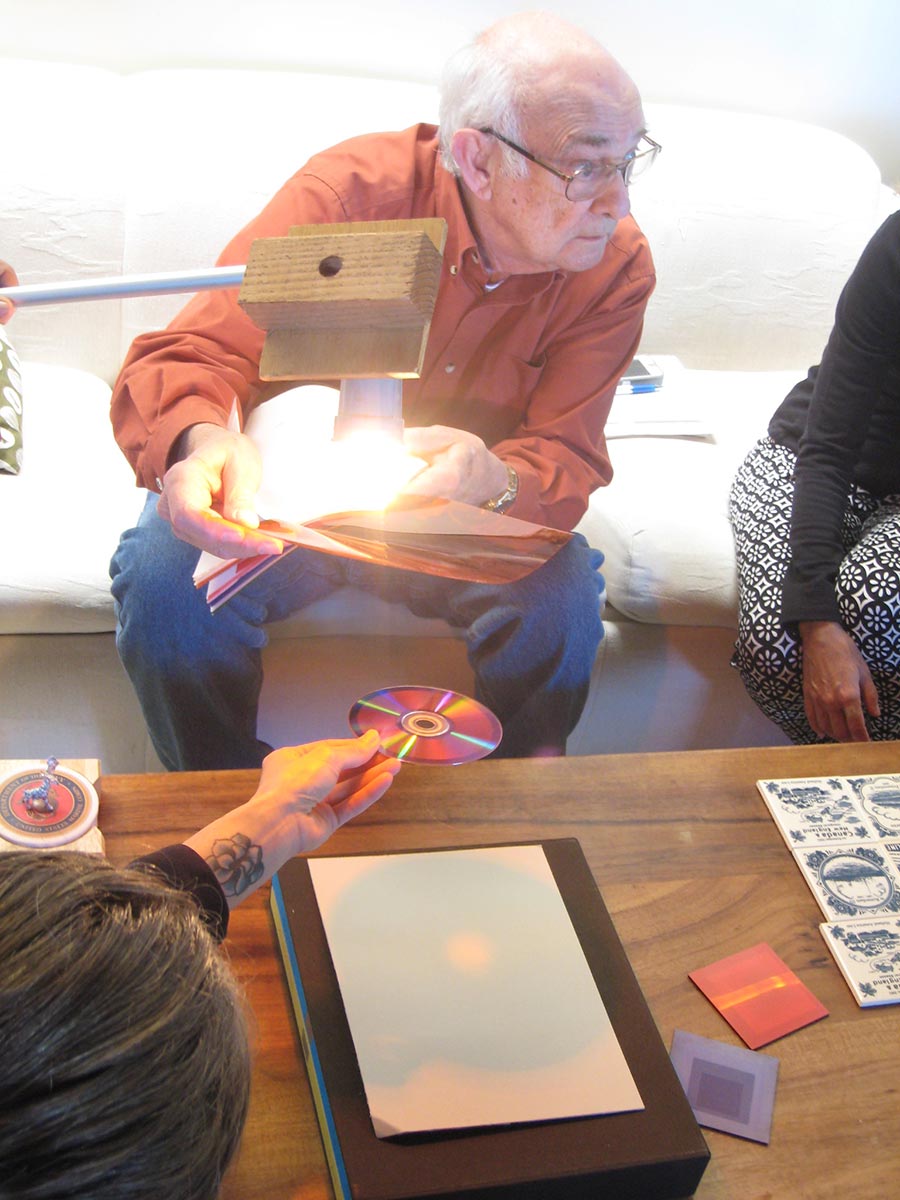
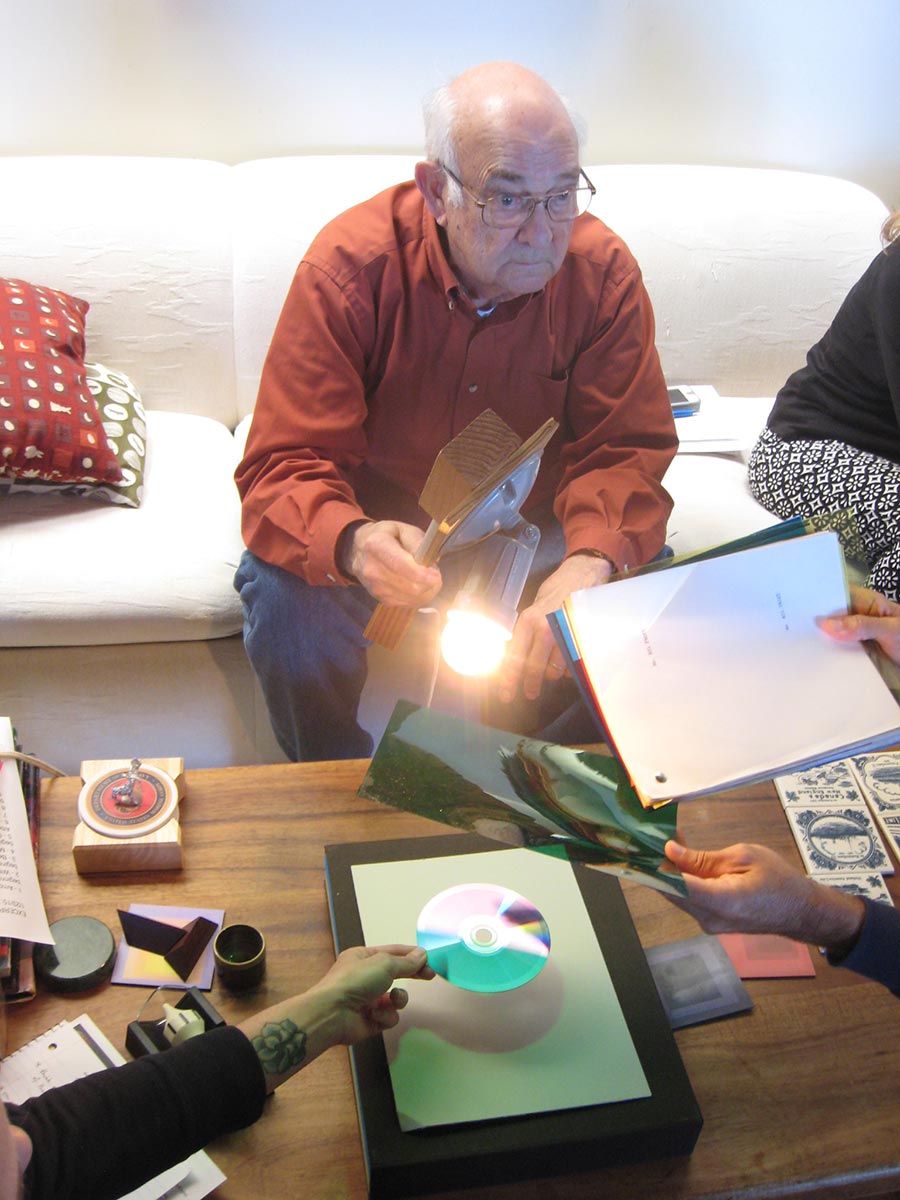
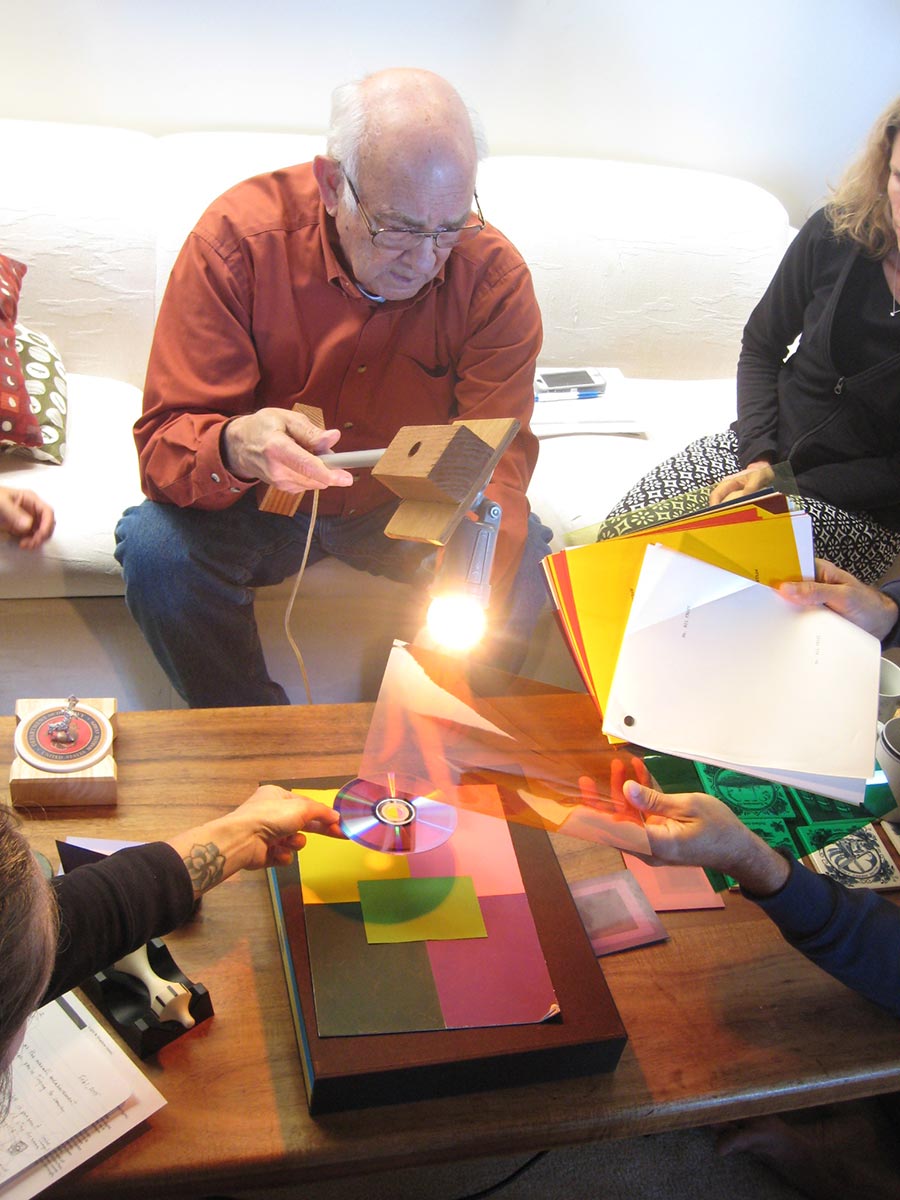
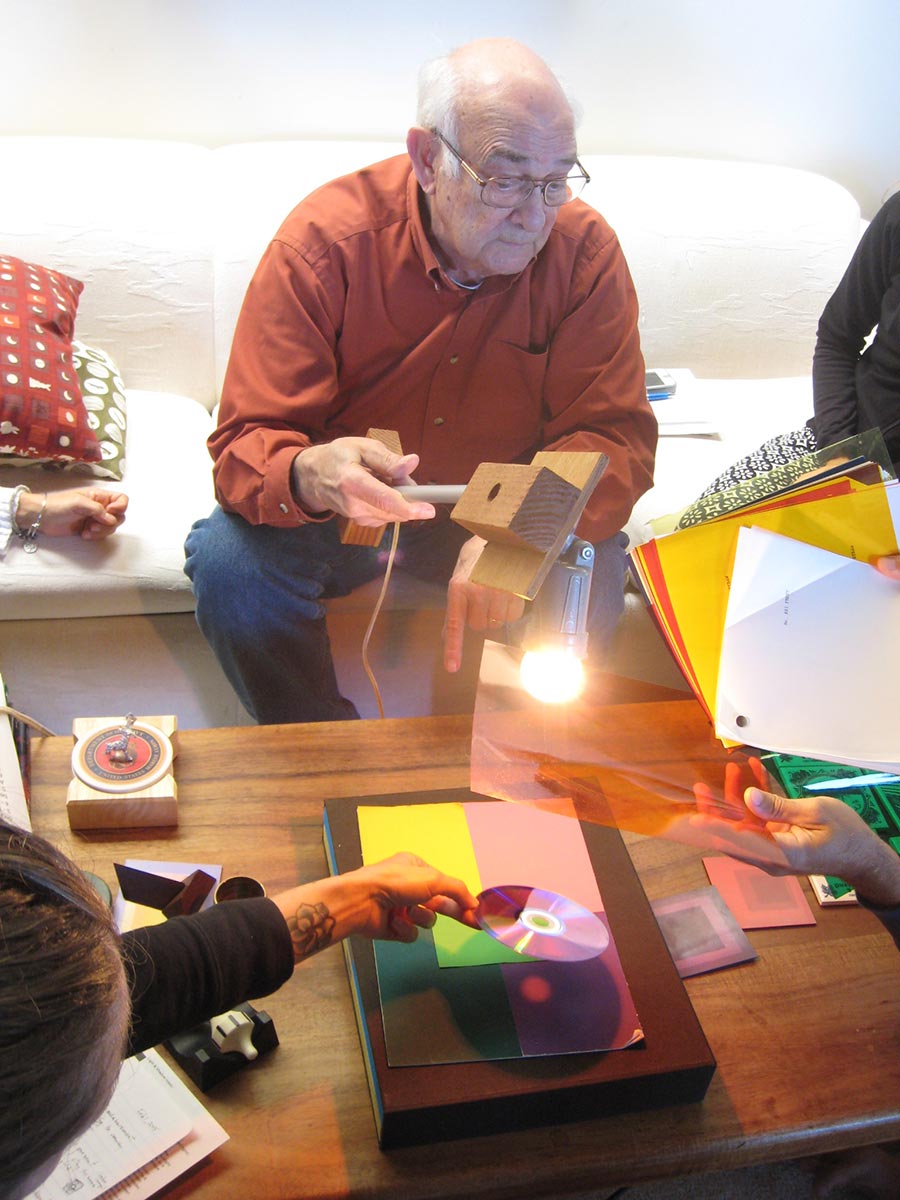
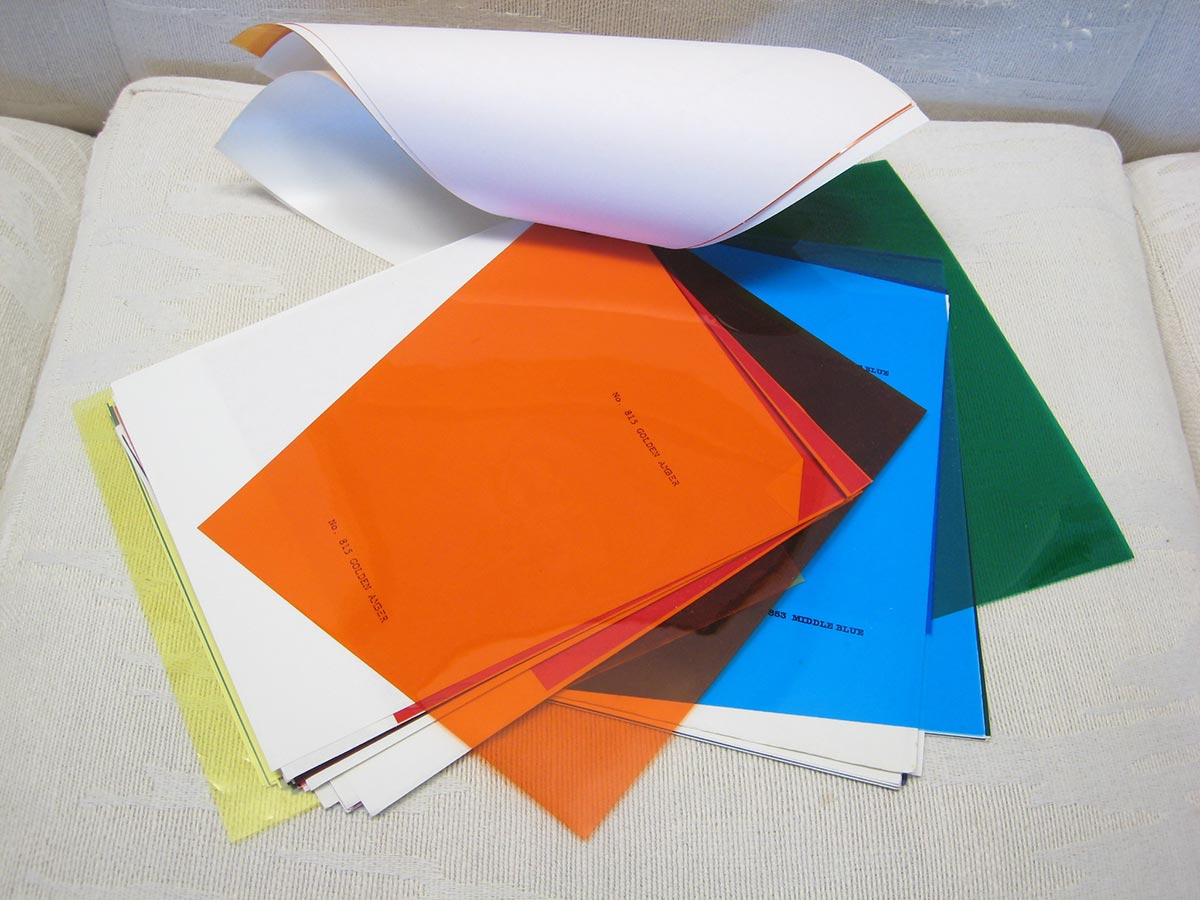
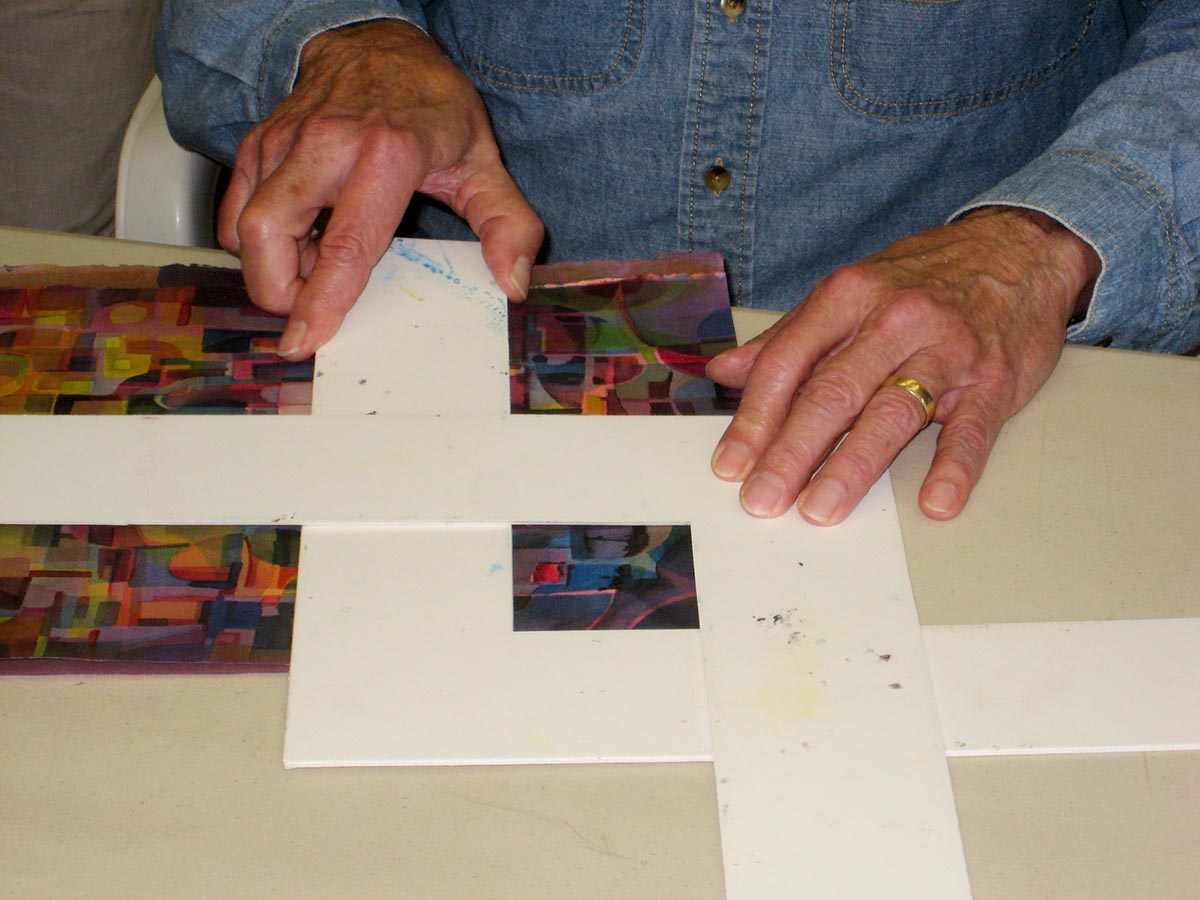
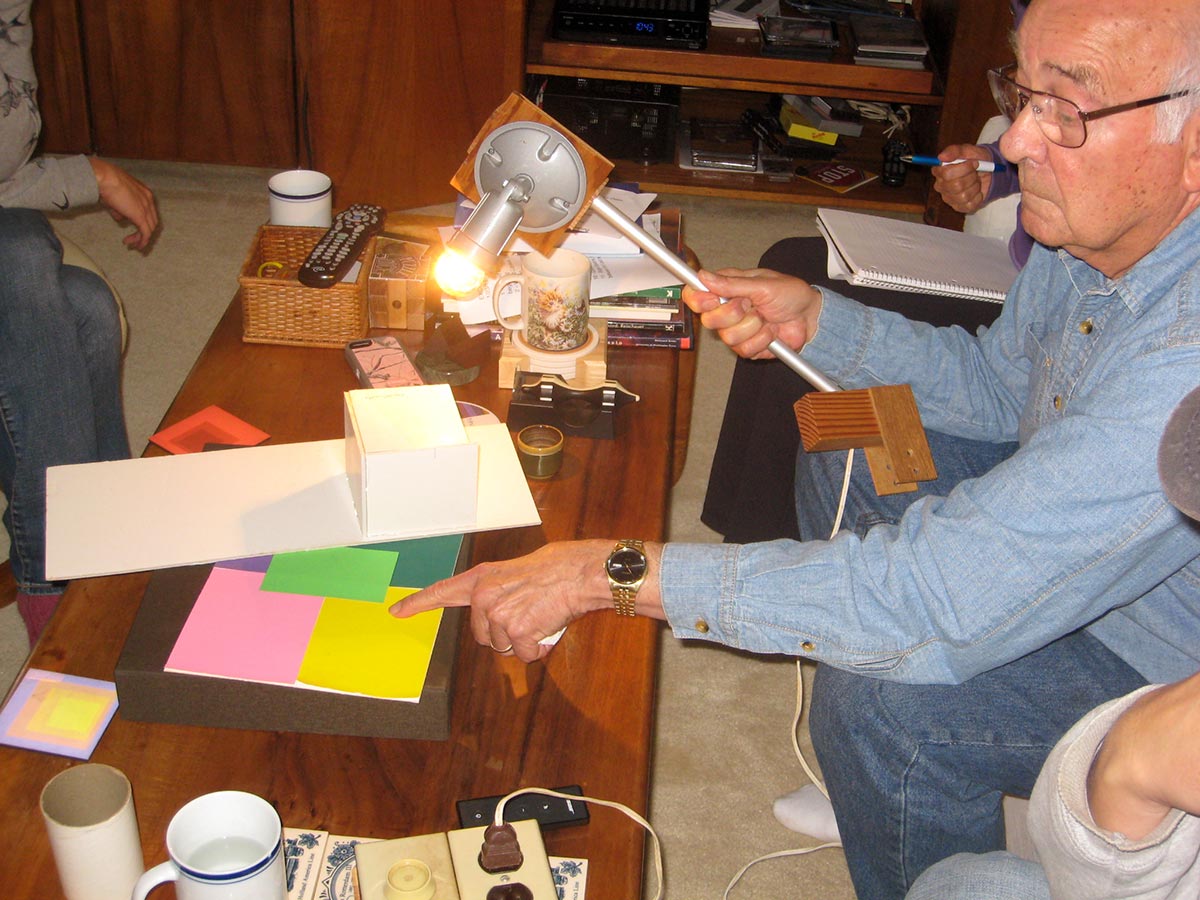
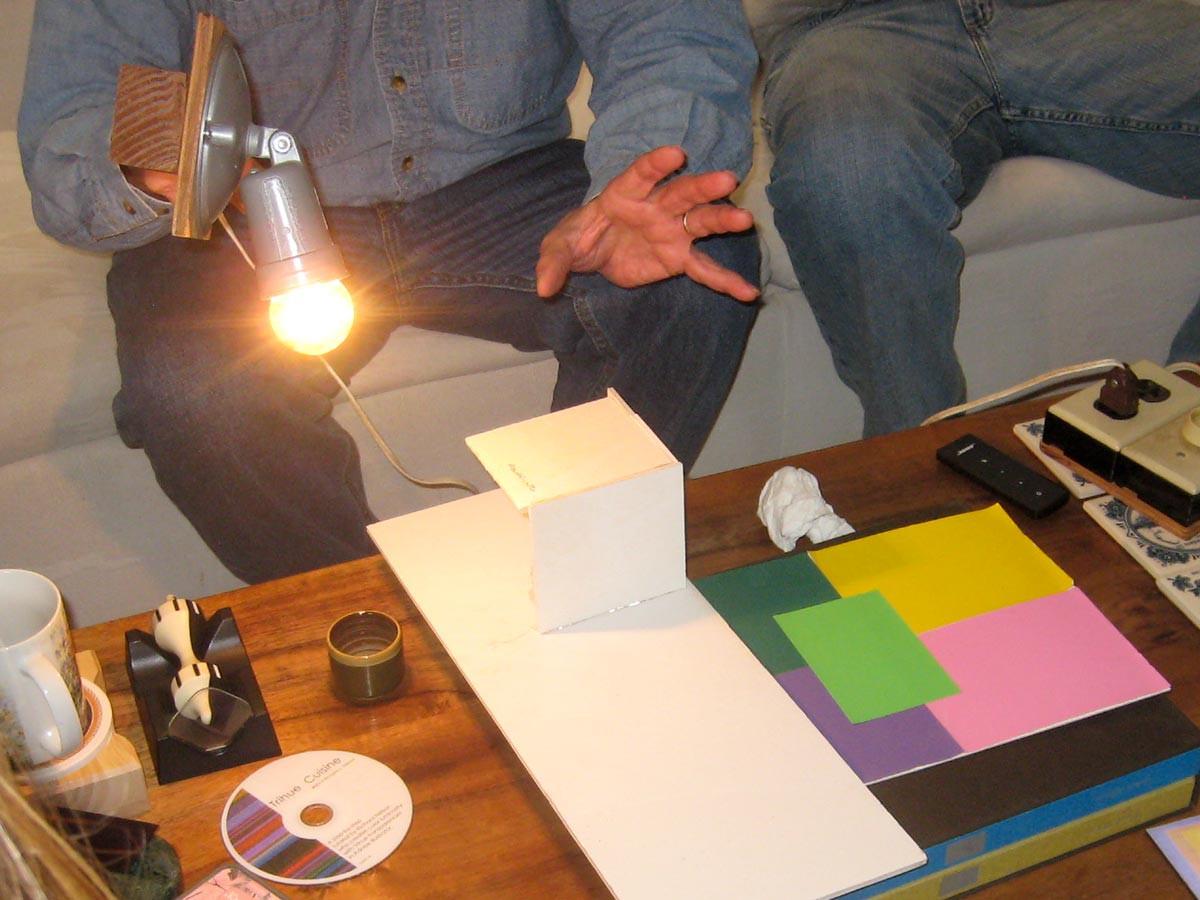
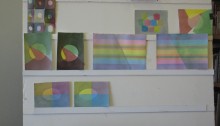
Demo photos – surface


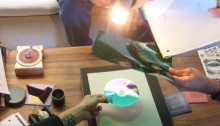
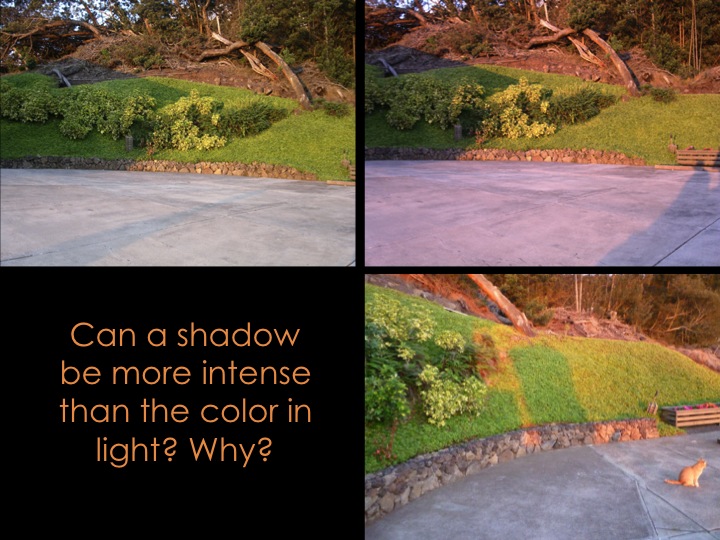
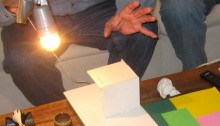
Discussion photo – colored light
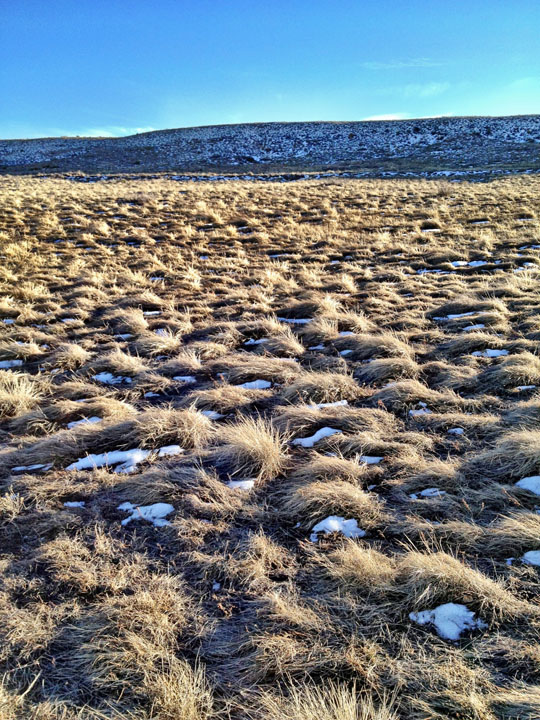
Dick showed this photo that Kathy had sent him with a clear example of colored light and shadows.

Videos – Class explanations and demos
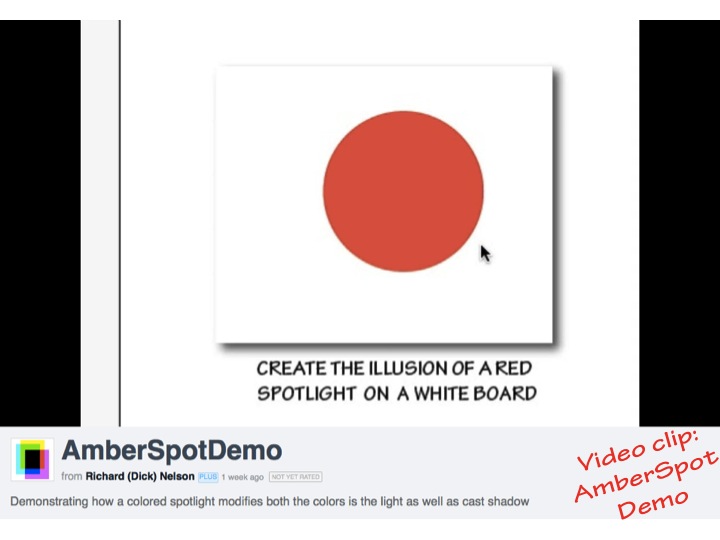
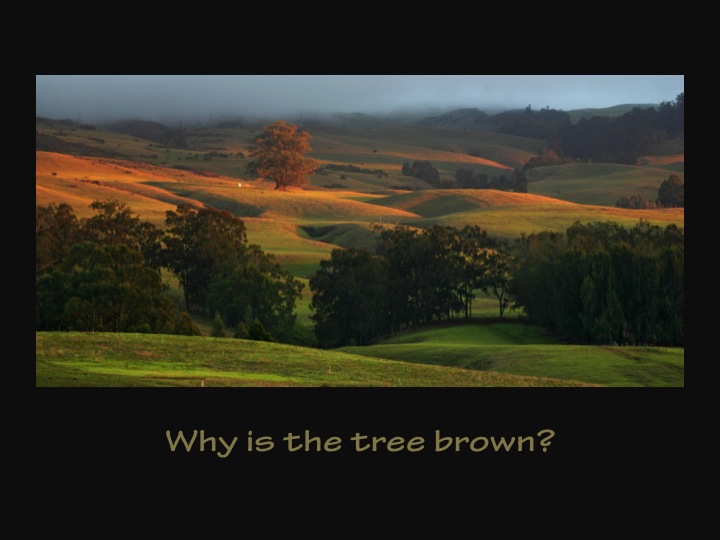
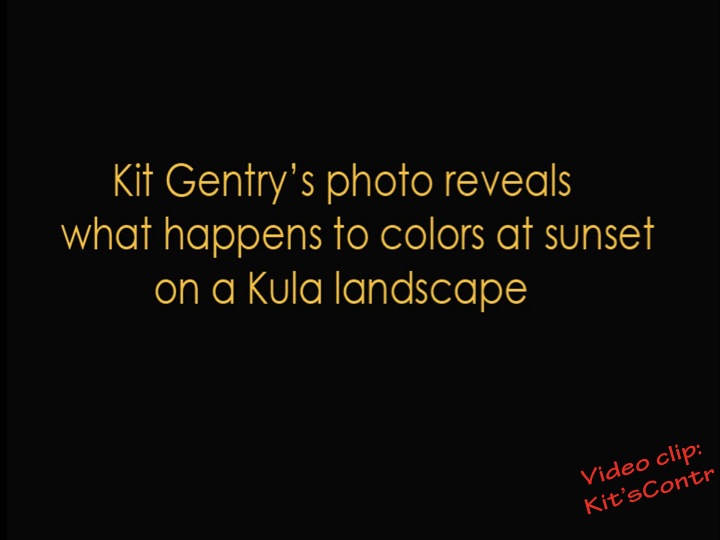
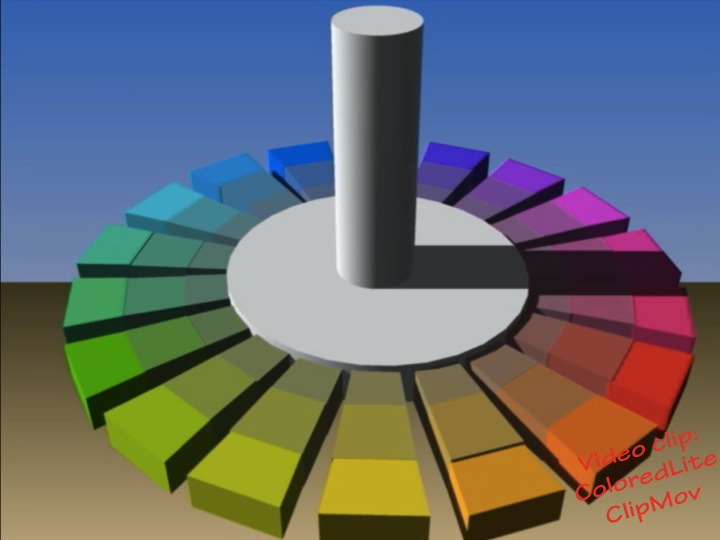
Colors of light and shadow
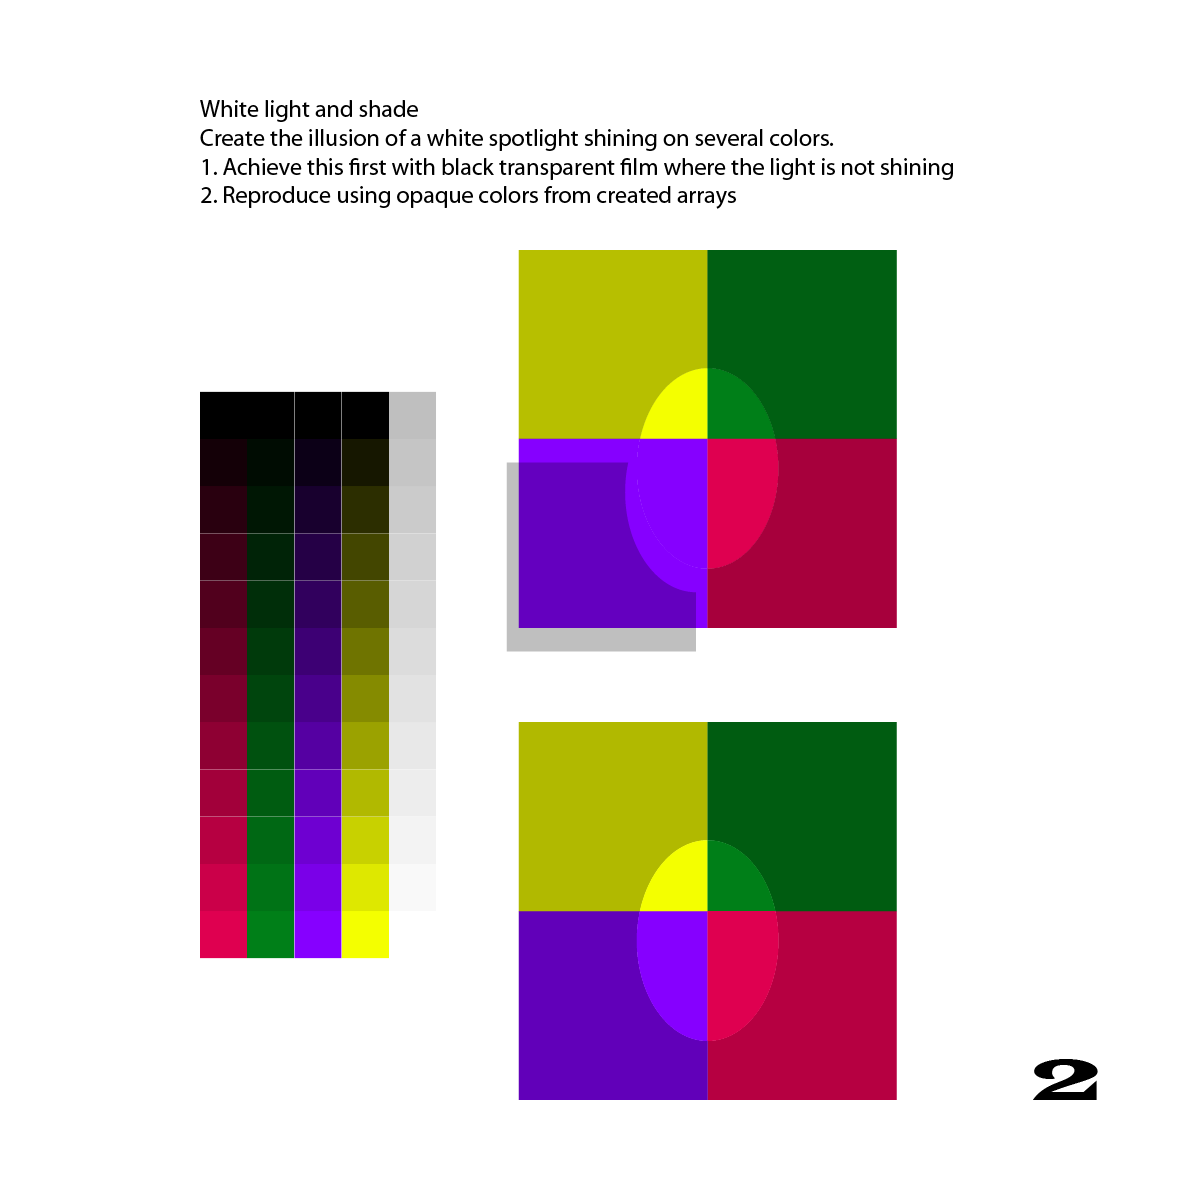
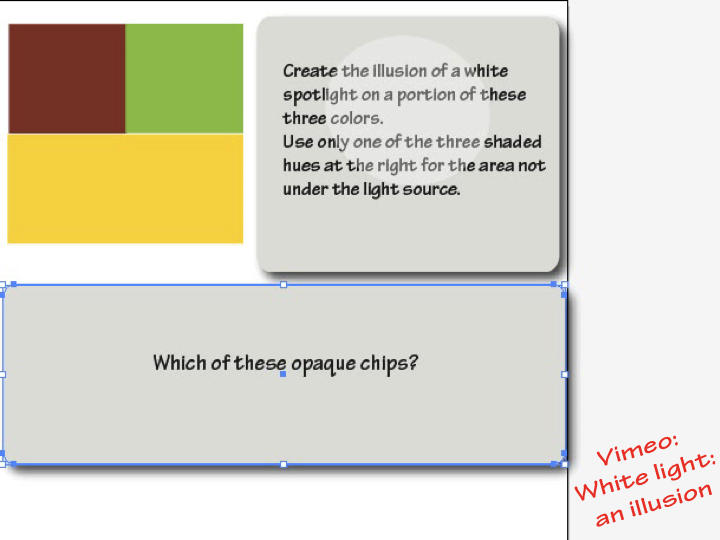
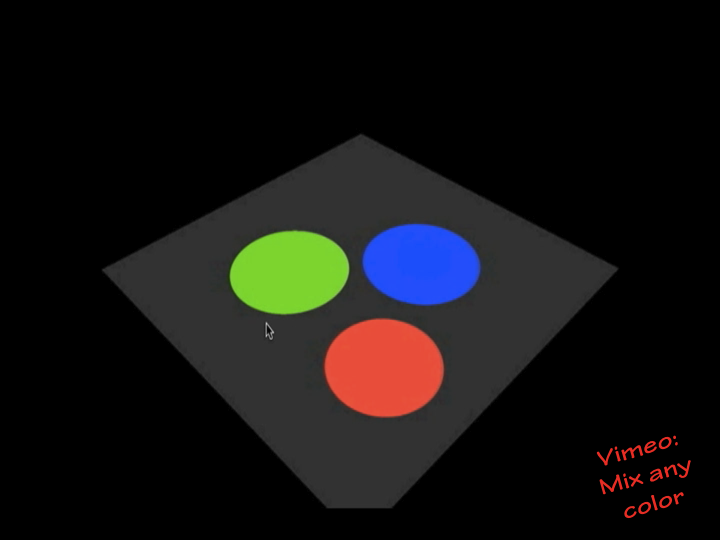
Dick Nelson explains the relationship between the colors of a light source, its shadow, and the ambient light, and how to apply it to mixing colors for a watercolor. Cover the entire paper with a tint of the light color. Mix a shadow color containing black (because there is a lot of white light in any light), the complement of the light color, and the color of the ambient light. (2:30)
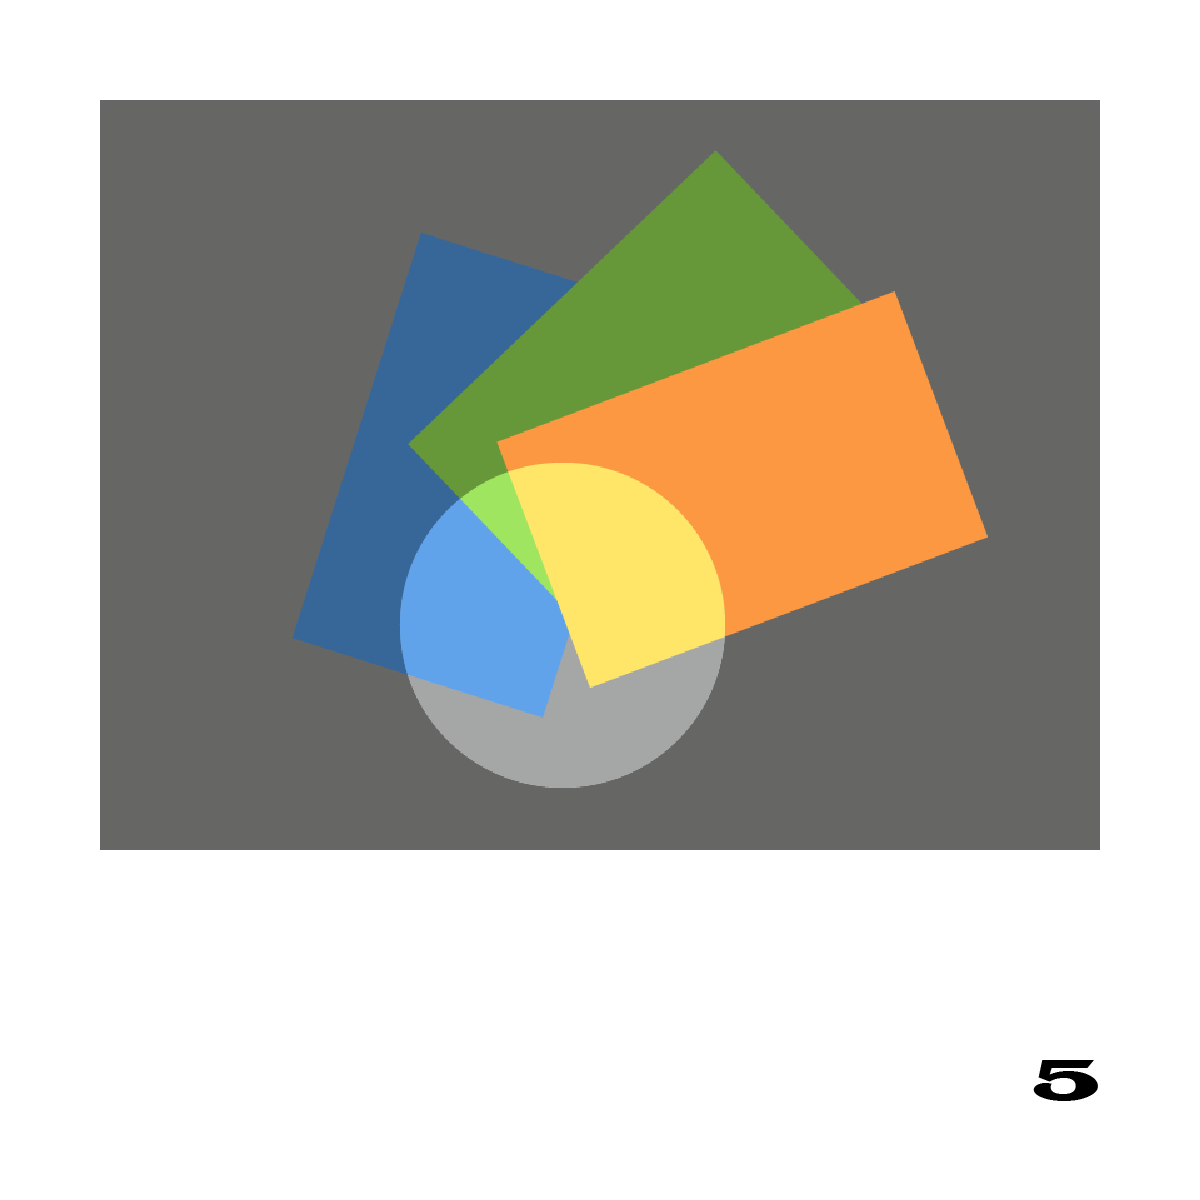
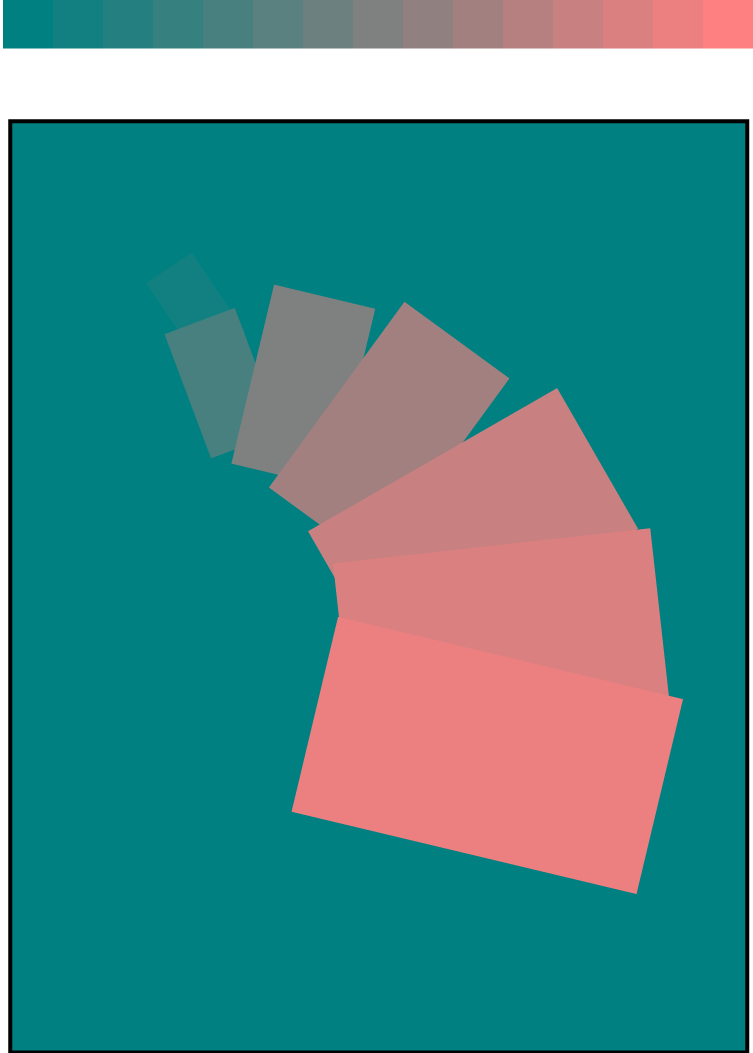
Painting strategy: Illusion of a gradated veil
Dick Nelson shows an illusion of a gradated veil, and describes the watercolor painting strategy for achieving it. (4:07)
Critique of transparency illusions in Albers book
Dick Nelson analyzes two transparency illusions from the Josef Albers book Interaction of Color, pointing out where the illusions fail to be completely convincing because they behave inconsistently with real life. (3:38)
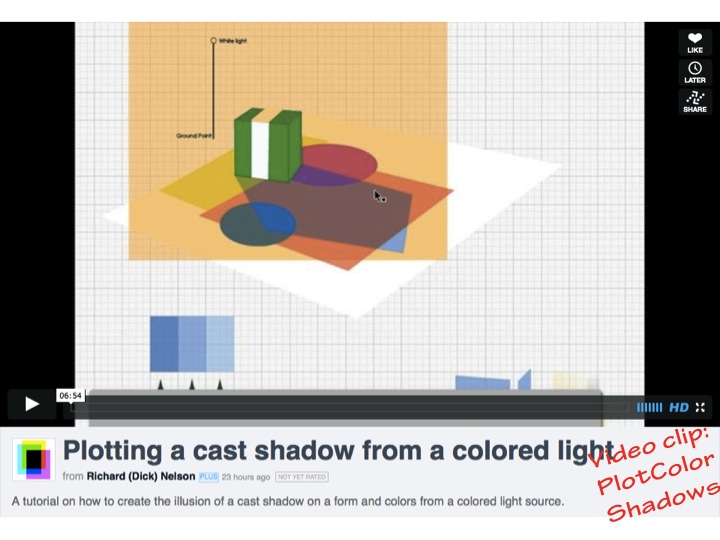
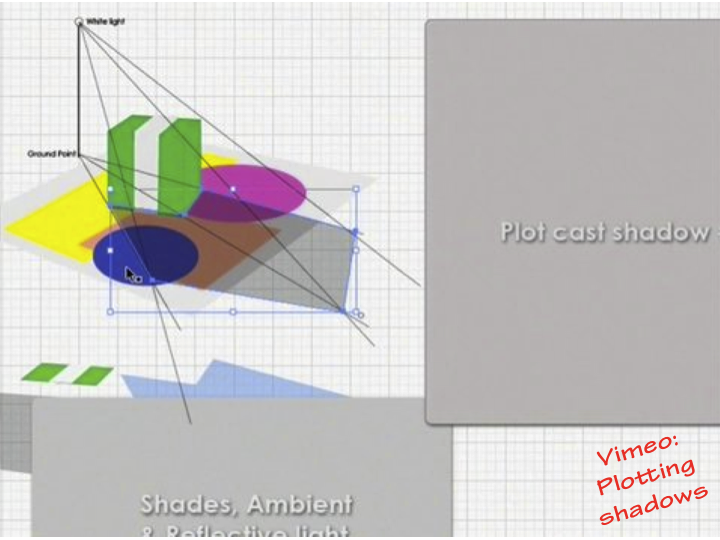
Painting demo & strategy for surface illusion, volume color; plotting reflections
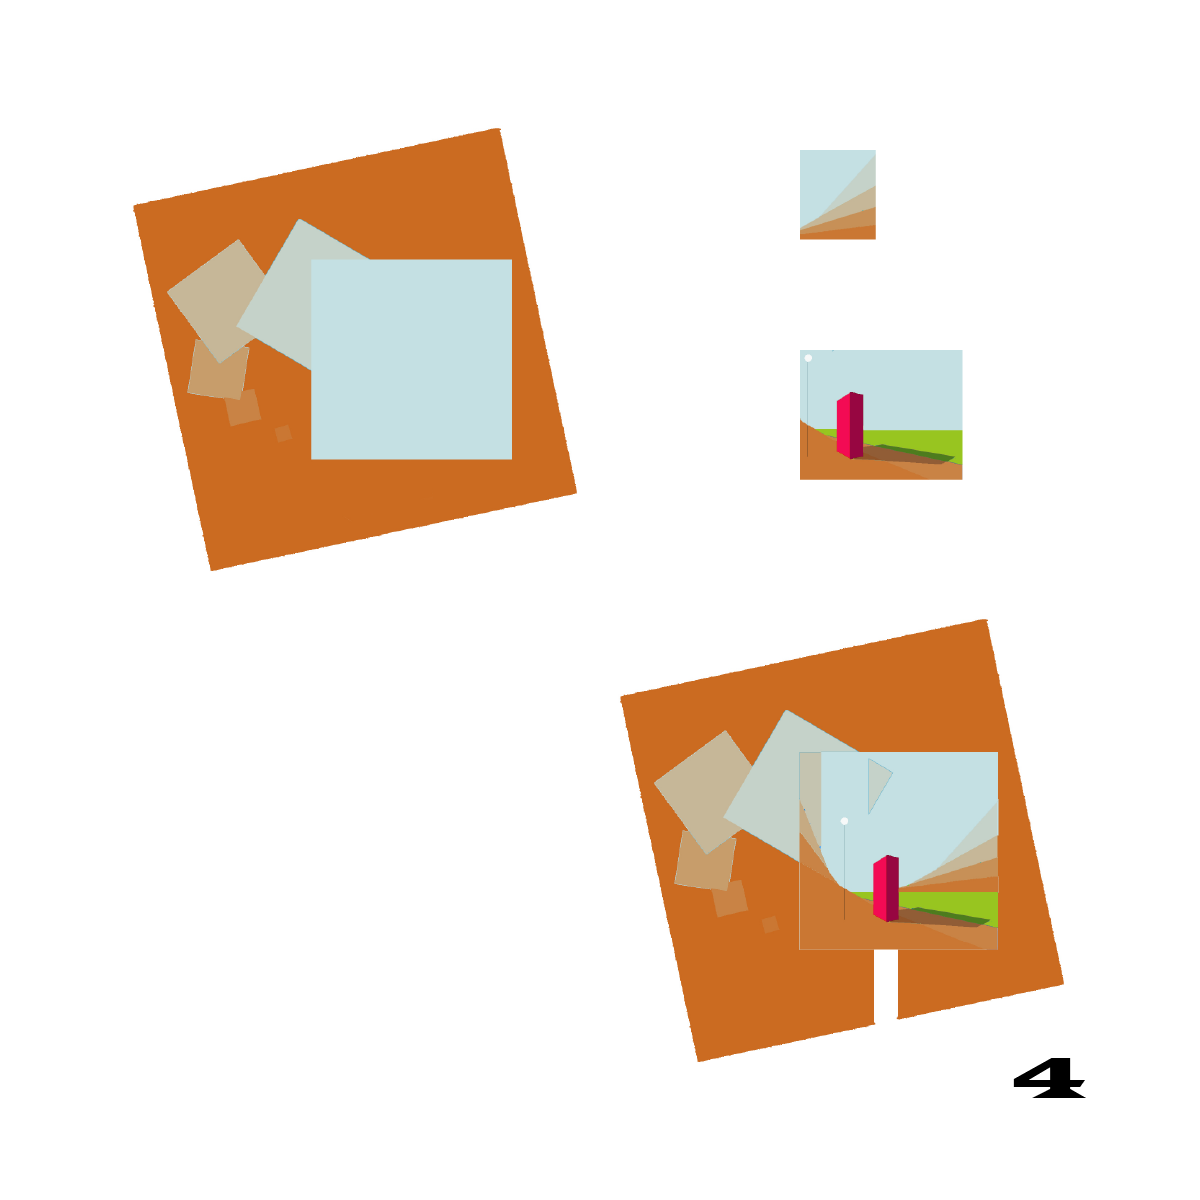
Dick Nelson shows and describes strategies for conveying the illusion of water or another reflective surface, volume color (atmospheric perspective), and how to plot reflections. (6:14)
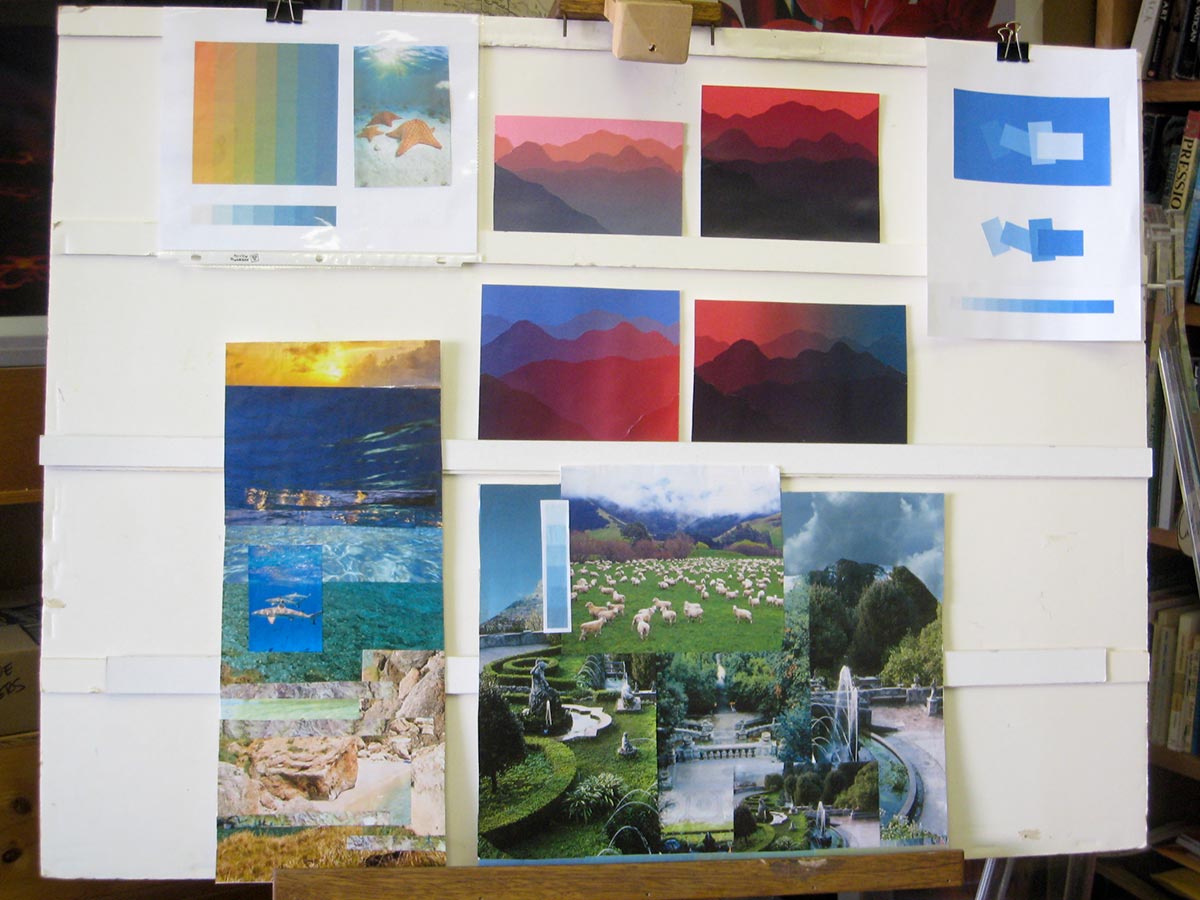
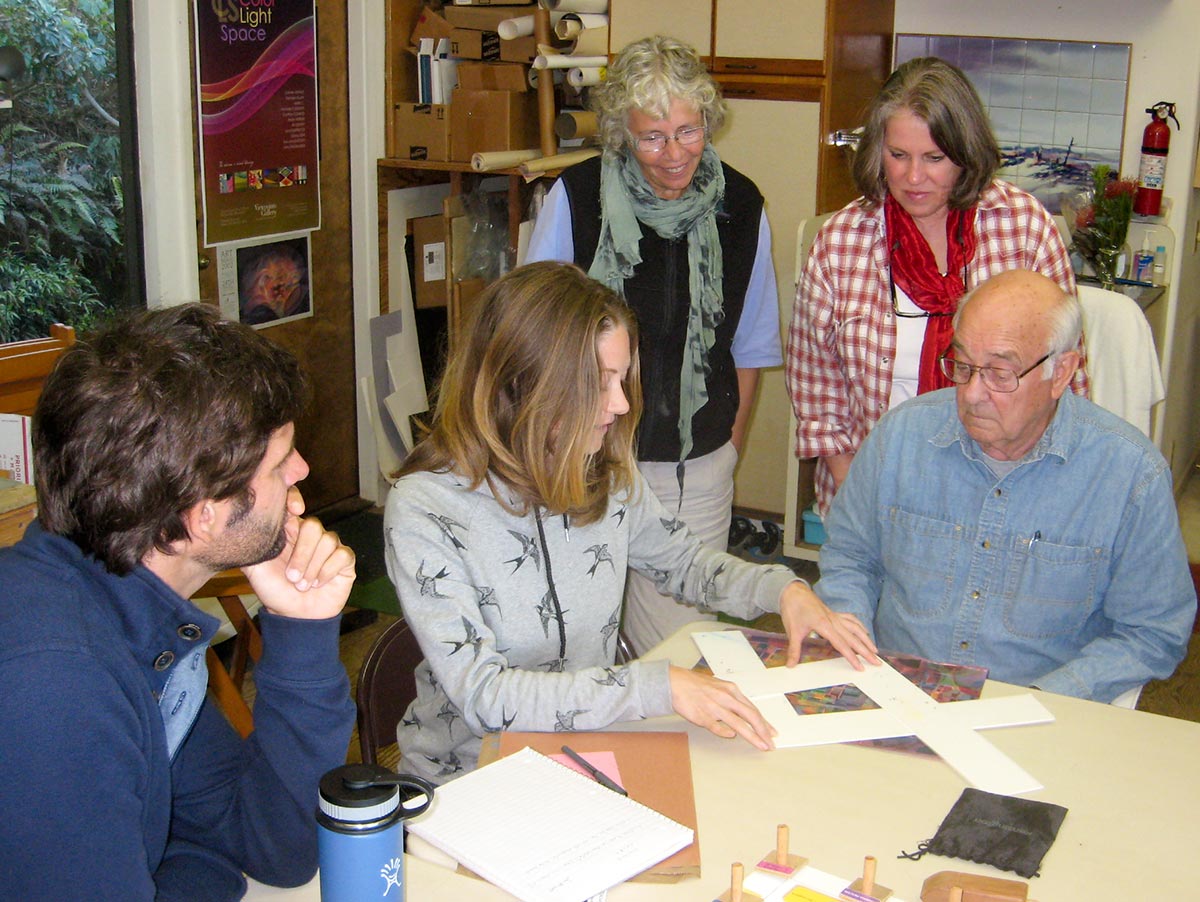
Wednesday class photos


Sunday class photos


Mahalo to Valérie Richter for Wednesday photos and videos, and to Holly Duane for Sunday photos.