The fourth session of the Drawing Foundation class for Fall 2015 was held on Thursday, October 8. We covered questions on three-point perspective, discussed the challenges in drawing correct ellipses, and got to use a brilliant optical device that Dick designed and built in the last week: the NelOptic! Breaking down the visible world into two-dimensional shapes and lines is not easy, but his device provides clear feedback that can’t be argued with.
Homework assignment
Week 4 drawing homework
Class recap – some key ideas
Perspective drawing
We started off class with a few questions about perspective, and specifically three-point perspective, that Dick addressed with a quick demo. Three-point perspective is used in situations such as architectural drawings or showing a scene from an abnormally high or low vantage point. The level of distortion increases with every new point that is added, so it is important to choose the vanishing points which suit your overall theme. The closer the vanishing points are on your paper, the more deformed the shapes become.
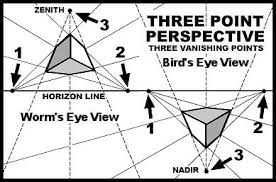
Drawing in three point perspective is fairly simple: pick your horizon line, and then the two vanishing points that end on the horizon. For the third point, it will either be above your eye line (if you are looking up at something – think of it as the ‘worm’s eye view’) or below it (if you are looking down at something – also known as the ‘bird’s eye view’). Decide on your vantage angle and choose the third point. Determine the basic shape of your object, and connect the lines.
3 point perspective: Dick Nelson draws a simple box house, on a slope, with a roof, in perspective, demonstrating the use of 3-point perspective.
Here’s a handout illustrating the same idea.
[gview file=”https://dicknelsoncolor.com/wp-content/uploads/2015/10/3Pt-perspective.pdf”]
If you really want to bend your mind, check out this website that shows you how to draw in six point perspective! The artist’s name is Dick Termes and he paints ‘Termespheres’, which are spherical paintings that can be seen ‘correctly’ from any angle. His work brings to mind M.C. Escher, the artist who was famous for his play with perspective.
NelOptic sighting aid device
-

- Dürer, Man Drawing a Lute

-

- NelOptic Viewer

Inspired by Albrecht Dürer’s drawing of a device for accurately rendering perspective, Dick created his own version and demonstrated it in class. Made of wood and plexiglass, about two feet tall and a little over a foot wide, it allows the artist to accurately capture angles, sizes, and proportions. Using the viewfinder mounted on a stick, Dick can view a scene from the same eye position as a student. A rotating slat can be aligned along an important angle. If that angle is the longitudinal axis of a cylinder, placing a right triangle along the slat proves the theory that the ellipse axis is perpendicular to the cylinder axis.
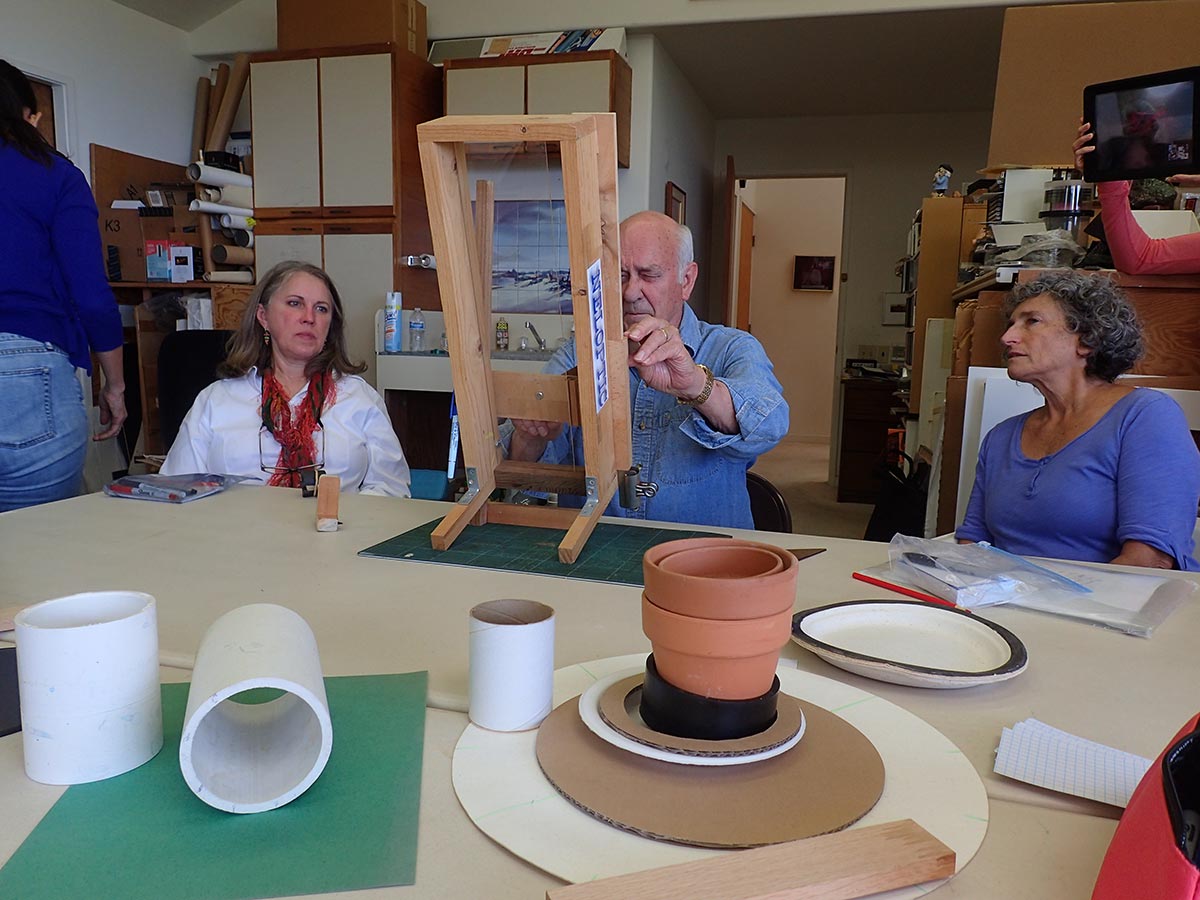
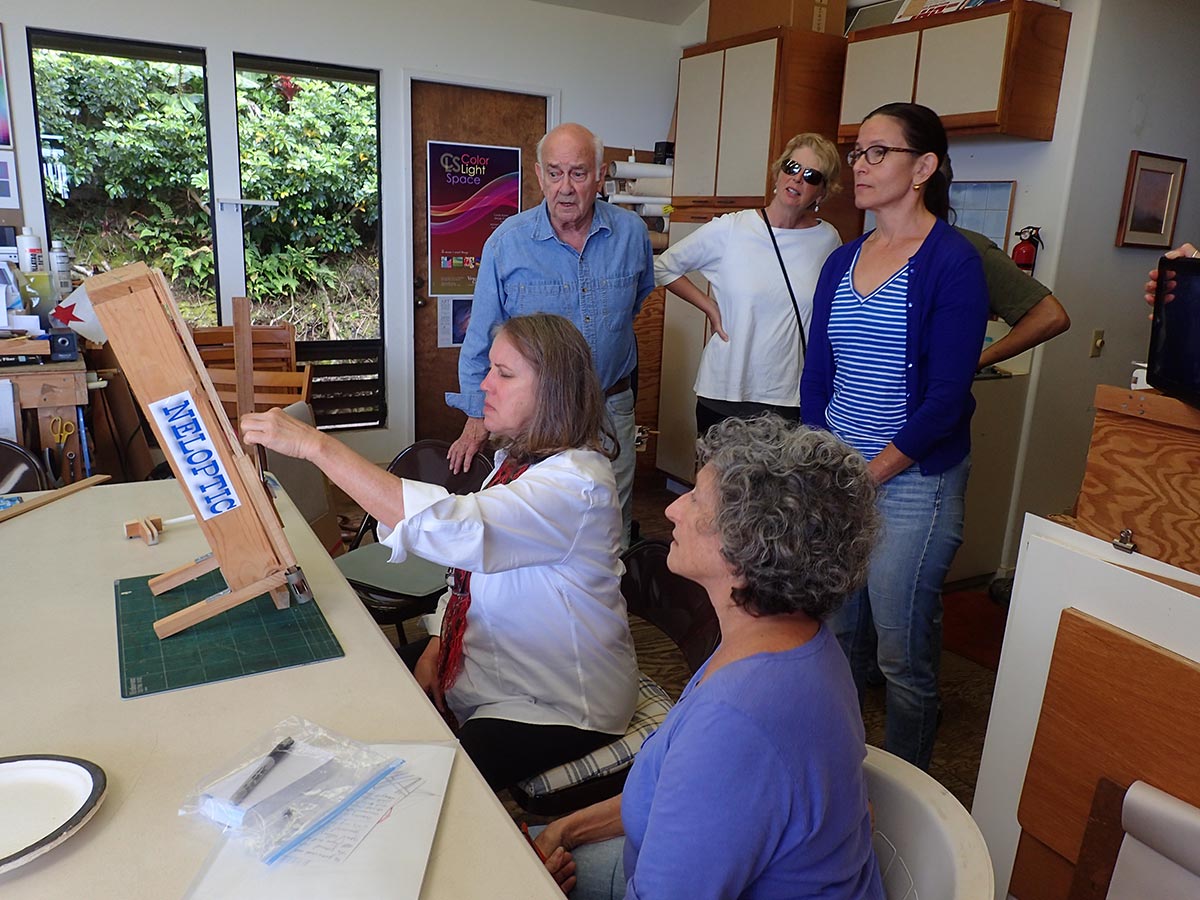
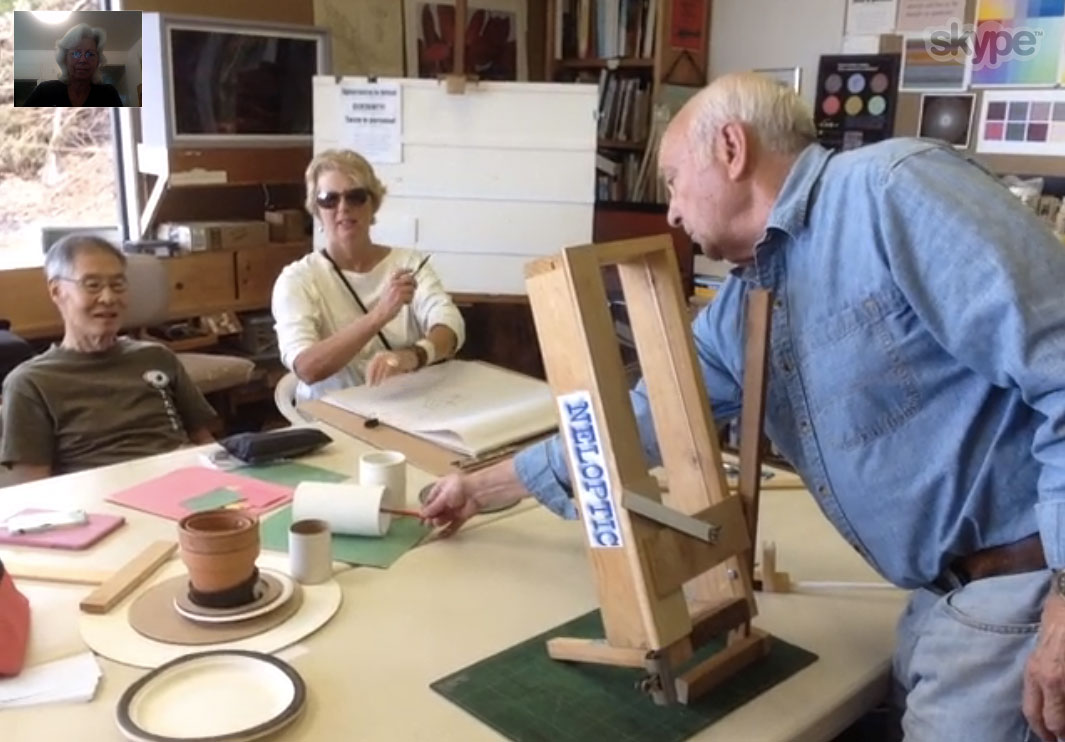

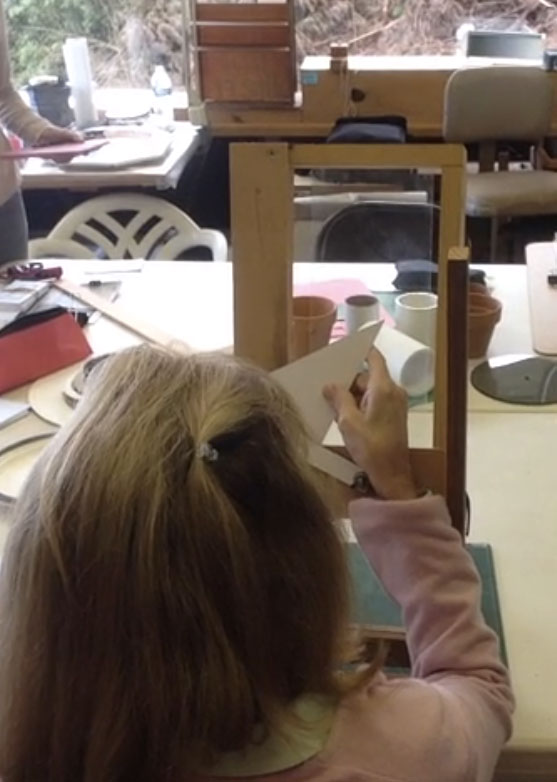
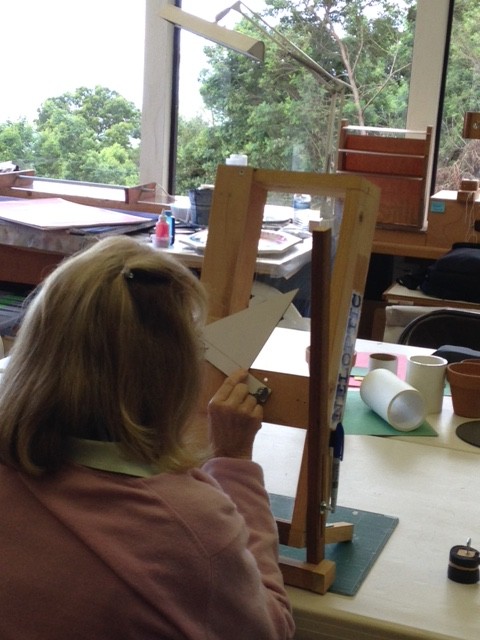
Dick had all students take their turn with the device. sighting in flower pots and plain cylinders. Each person had to find the correct axes of a cylindrical object with two straight edges, which always proved to be a perfect 90˚ angle. This demonstration helped remove any doubt about the correct way to draw an ellipse.
Index card drawings
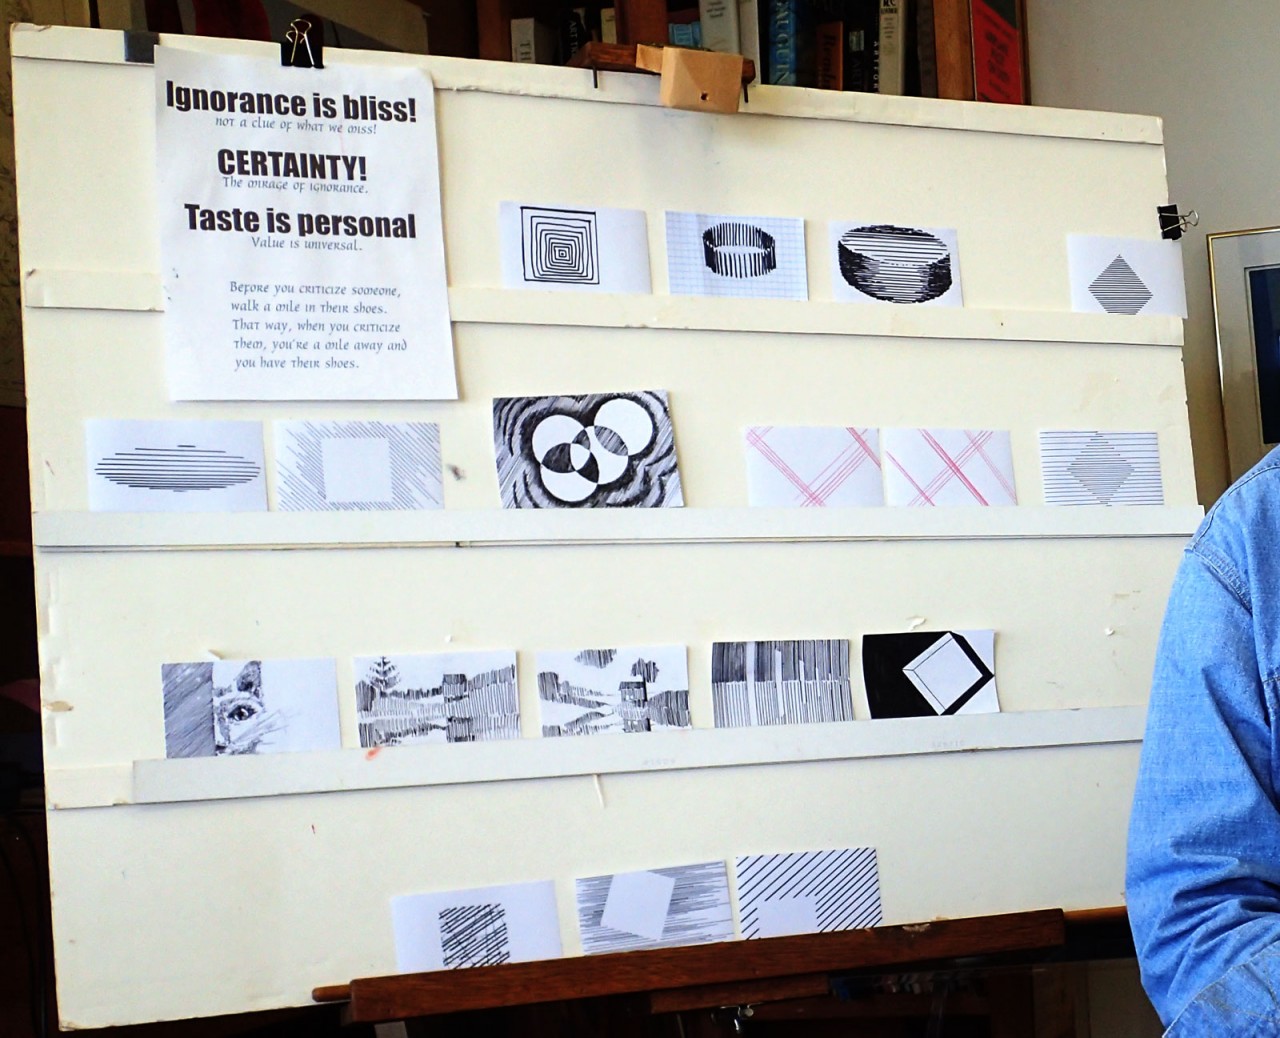
Index card drawings, week 4
We then took time to go over another round of index cards. There were a few examples of clever optical tricks that Dick made special mention of:
- Not including the whole shape (having the shape go off the page), which lets the imagination fill in the missing area.
- Using gradients to show differences in space and individual objects (Dick asked the class to expand on this idea, and consider including reverse gradients to heighten the effect).
- Using the rules of perspective to create a sense of depth and distance.
Dick also talked about progression and evolution in your image making, and how wonderful it is when you learn a new visual technique (such as perspective or gradients). Add that knowledge to your ‘collection’, and you start finding new ways to use different techniques together. As he said, “The synthesis of taking one of your discoveries and combining it with another one”.
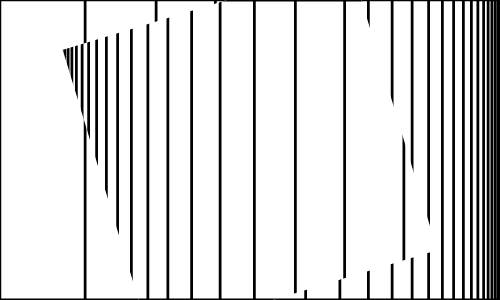
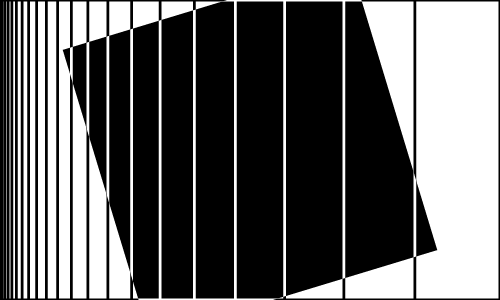
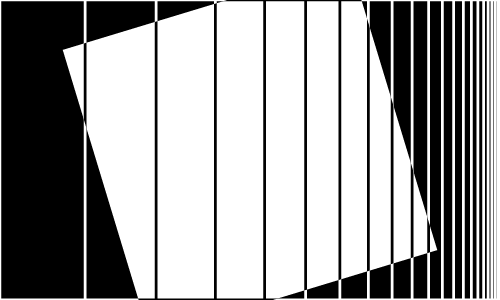
Inspired by today’s class
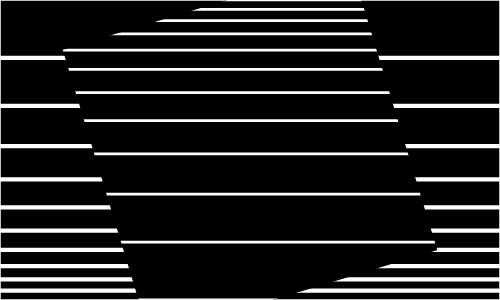
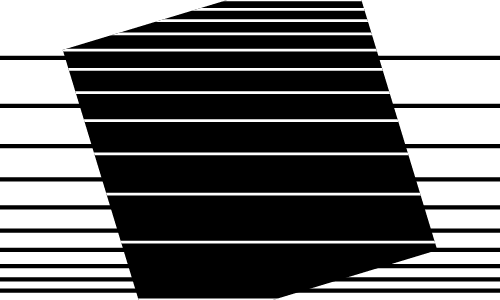
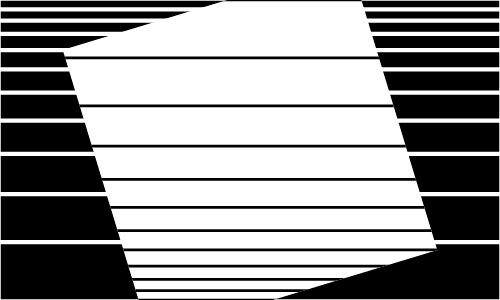
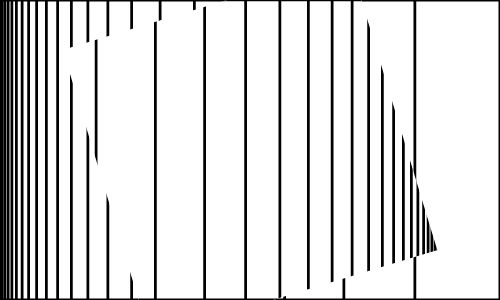
Watching via Skype from across the room, I couldn’t make out details of the individual index card assignments being discussed, but I picked up on some of the concepts Dick described in them, and combined them to create a square too large to fit on the card, described by parallel horizontal black lines in reverse gradient patterns. That sparked ideas for several variations, which I developed in Illustrator. I shared them with Dick and he asked me to include them in this post. ~ Karen Bennett


Dick also asked the class, why do we think he assigns this simple exercise? The class discussed the benefits of having limits and restrictions in order to pull forth creative solutions. Dick beautifully answered his own question in the PDF below:
[gview file=”https://dicknelsoncolor.com/wp-content/uploads/2015/10/IndexCardMotive.pdf”]
Don’t forget to do another round of index cards for next week! This is an ongoing assignment.
Videos and recordings
Square cut inside a square: Dick Nelson demonstrates how to draw a hollow box, whose sides have thickness, in perspective, showing how to find the inside edges. He also looks at drawing cylinders.
Cylinder: Dick Nelson demonstrates drawing the bottom of a cylinder that’s above eye level, and correctly representing cylinders lying down instead of standing up.
Ellipse edges: The thickness of a cylinder’s lip drawn in perspective is different between the ellipse long axis and short axis due to foreshortening.
Ellipse: The center of an ellipse drawn in perspective is closer to the back than the front.
Curved cylinder edge: Dick Nelson demonstrates fine points of depicting edges of cylindrical objects.
Flower pot: Dick Nelson draws a flower pot, explaining and drawing the ellipse shapes that make it up.
Listen to the class


